Water Heater Leaking From a Joint, Safety Valve, or Tank?
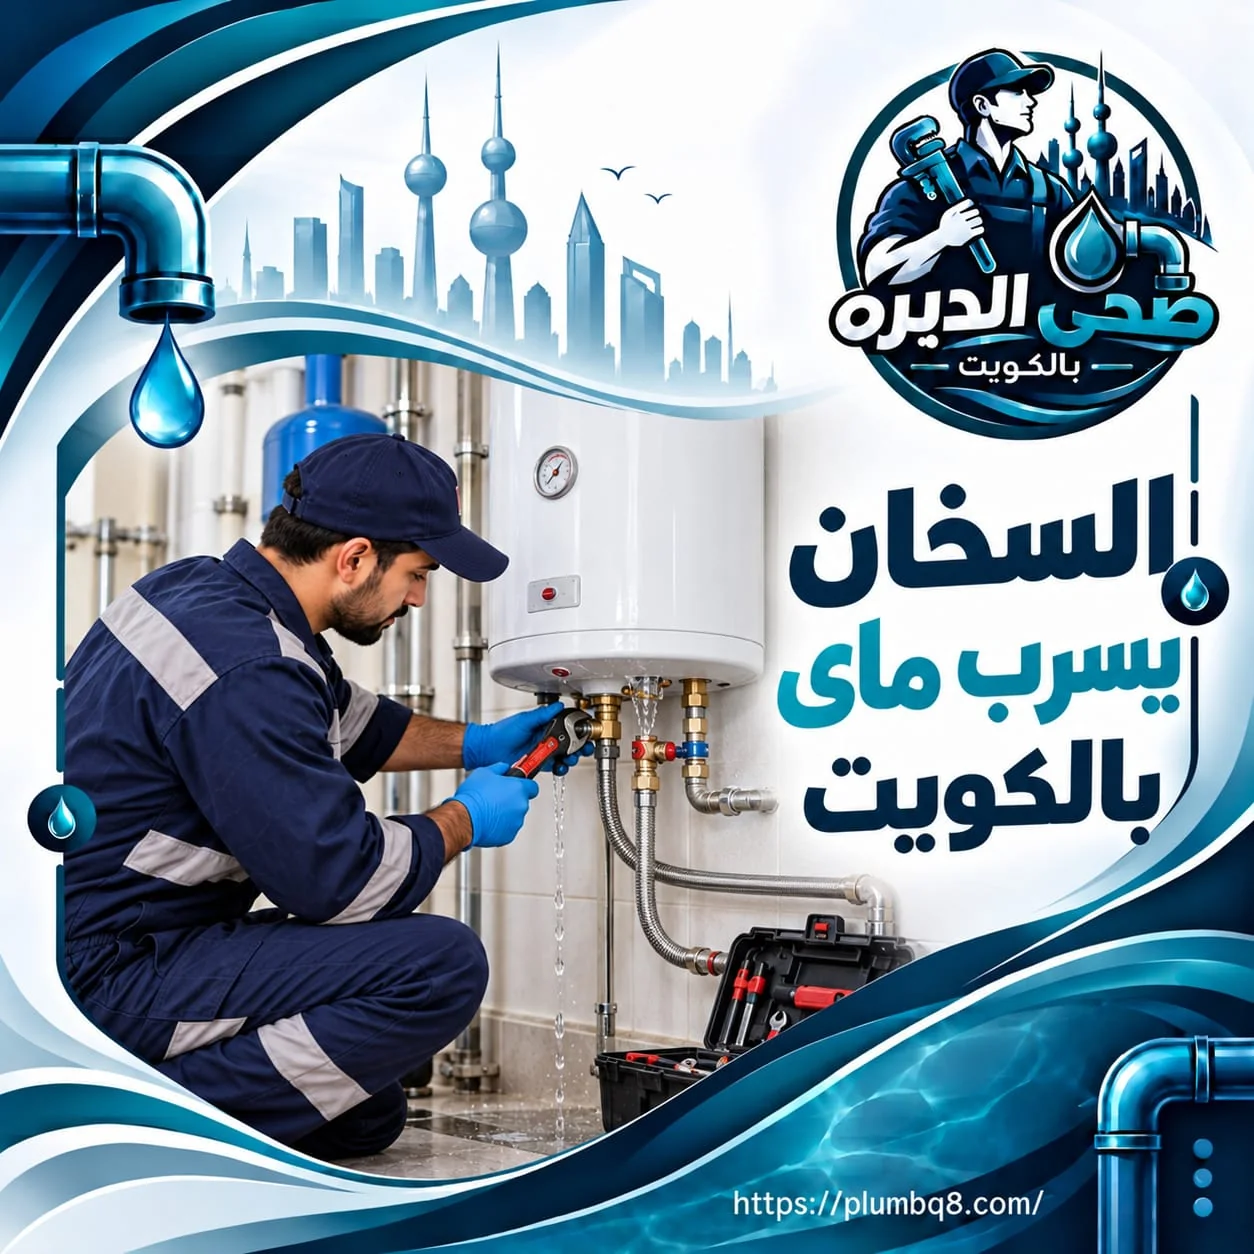
When you find water underneath a water heater, the first decision should not be to replace the heater or tighten every connection. The first step is to determine exactly where the water is coming from because a drip from a connection is different from water discharged through the safety valve, and both are very different from a leak in the tank itself. Sometimes water travels down the heater body and appears far away from its actual source, making it look as though the tank is leaking when the problem actually started at a connection above it. Proper diagnosis depends on drying the area, watching for the first point where water appears, and checking the condition both during heating and when the heater is not actively heating. If water is close to electrical components or inside the electrical cover, the heater should not be dismantled or tested casually because safety comes before diagnosing the fault.
Water Heater Leaking in Kuwait

If your water heater is leaking in Kuwait, do not diagnose the fault based only on the puddle underneath it. Water moves downward with gravity and can travel along pipes, connections, and the heater body, so the place where it collects on the floor may be far from the first point where the leak started. A practical inspection begins by observing the outside of the heater without dismantling electrical components. Is the first visible moisture around the cold-water inlet or hot-water outlet connection? Is water coming from the safety valve discharge outlet? Or is moisture appearing from the heater body or another area that is not clearly associated with an external connection?
The timing of the leak also provides important information. If water appears even when the heater is not actively heating, that pattern is different from dripping that begins or increases during a heating cycle. When water inside a storage heater becomes hot, it expands, and the way the system handles this expansion and the resulting pressure depends on its design and installed components. Therefore, water appearing at the safety valve does not automatically mean the valve itself is defective, just as moisture on the heater body does not immediately prove that the tank has developed a leak.
A common mistake that can make the problem worse is tightening every connection aggressively simply because moisture is visible or blocking the safety valve outlet to stop dripping. A connection needs to be assessed according to its type, sealing method, alignment, and condition. The safety valve is a component associated with the safe operation of the heater, so its outlet should not be blocked or its function disabled. If water is close to wiring or the electrical connection cover, the heater should be treated cautiously, and electrical isolation should be handled safely by a qualified person before any inspection that requires opening electrical components.
-
The first drop that appears after drying the heater body and connections is more useful than the location of water collected on the floor because it helps trace the leak from its starting point rather than its final destination.
-
A leak that appears continuously requires a different diagnostic approach from dripping that increases during heating, so observing when the problem occurs gives the technician useful information about the conditions causing it.
-
Water at the safety valve does not provide enough evidence to declare the valve defective because pressure, thermal expansion, and the configuration of the plumbing system can all affect why the valve discharges.
-
Tightening connections with excessive force is not a universal solution because the problem may involve a seal, alignment, sealing method, or damaged component, and excessive tightening can damage certain fittings instead of repairing them.
-
If water reaches electrical components or appears close to the wiring cover, safety becomes the priority, and the cover or electrical connections should not be touched while moisture is present.
Water Heater Leaking From the Safety Valve
A water heater leaking from the safety valve requires distinguishing between a valve that is discharging water because of a pressure condition and a valve or installation that has an actual fault. The function of the safety valve is connected with protecting the storage heater under inappropriate pressure conditions according to the design of the appliance and system. Therefore, treating the dripping as nothing more than an opening that needs to be blocked is a serious mistake. If water is coming from the valve outlet, it is important to determine when it happens, how long it continues, and whether it appears only while the heater is heating or also when the water is cold.
If dripping begins as the water temperature rises, thermal expansion becomes one of the factors that needs to be considered during the inspection. Water expands when heated, and the way pressure responds depends on the water supply arrangement and the components installed in the system. If the valve continues discharging water under different operating conditions, the technician should inspect the valve itself, system pressure, and installation configuration instead of immediately replacing the valve. Installing a new valve without identifying why the old one was discharging may allow the same problem to return when the underlying cause is outside the valve.
One of the most dangerous responses is blocking the safety valve outlet or fitting something that prevents it from discharging simply to stop the dripping. This component is not an ordinary drain that can simply be closed. Disabling its function can remove a safety mechanism designed to respond to abnormal conditions. The valve also should not be tampered with or tested using a method that conflicts with the heater's requirements. The appropriate technician should identify why water is being discharged first and then determine whether the pressure condition needs attention, the valve itself requires service or replacement, or an installation issue needs to be corrected.
-
Dripping that begins during the heating cycle requires evaluating its relationship with increasing pressure and thermal expansion before assuming that the safety valve is defective and needs immediate replacement.
-
Continuous water discharge under different conditions requires inspection of the valve condition, system pressure, and installation because replacing the valve alone will not correct a cause located elsewhere in the system.
-
The safety valve outlet must remain able to perform its intended function according to the heater design and should never be blocked or disabled simply because discharged water is causing inconvenience.
-
If a valve is replaced without diagnosing why the previous valve was releasing water, dripping may return because the original cause has not actually been corrected.
-
Choosing a technician should be based on the ability to explain why the valve is discharging and identify the contributing factor rather than simply replacing the component and leaving without testing the heater through a heating cycle.
Water Leaking From a Water Heater Connection
A water leak from a water heater connection is often easier to locate than an internal leak, but it still should not be diagnosed too quickly. Water may begin at a connection near the top of the heater, travel along the pipe or tank casing, and eventually appear underneath the appliance, creating the impression that the leak is coming from somewhere else. For this reason, the area should first be dried and the actual connection monitored to determine whether the first drop begins there or is travelling across it from a higher source.
A connection can leak for several reasons depending on its type and how it was installed. There may be an issue with the tightness of the connection, the appropriate sealing material or method, or a gasket used with a particular fitting. Misalignment can also place stress on a connection instead of allowing it to sit correctly and naturally. The condition of the component to which the fitting connects must also be inspected because replacing or resealing the fitting will not solve the problem if the mating surface, thread, or connected component is damaged.
A common mistake is applying more force every time water appears. Excessive tightening does not necessarily create a better seal, and some fittings can be damaged or distorted when handled this way. After any repair, the area should be dried again and the connection monitored under pressure and during heater operation when relevant because the absence of a drip during the first minute does not prove that the repair is successful. Regarding cost, repairing an accessible external connection is different from a problem that requires an additional component to be replaced or access to a concealed area. The cost therefore depends on the inspection result, fitting type, and work required rather than simply the statement that the heater is leaking.
-
Drying the connection and the area above it before monitoring helps determine whether water actually begins at the connection or is passing over it from a higher point on the heater.
-
If a connection is installed at an angle or under sideways stress, correcting the alignment becomes part of the inspection because simply increasing tightness does not remove installation stress.
-
The type of connection determines the appropriate sealing method, so applying the same repair technique to every fitting can result in a temporary repair or damage the component.
-
After repair, the connection should be monitored under actual operating conditions because some leaks do not appear immediately and may require changes in pressure or temperature before becoming visible.
-
The cost of repairing a connection depends on its condition, accessibility, mating component, and required parts, so a simple external leak should not be treated as equivalent to an internal tank leak.
Water Heater Tank Leaking Water
When it appears that the water heater tank is leaking water, the first step is to confirm that the water is actually coming from the tank body rather than running down from a connection or valve above it. This distinction is important because replacing an entire water heater because of a simple external connection leak would be an unnecessary and expensive decision. The heater body should be dried as much as reasonably possible and the highest point where new moisture begins should be observed. If the external connections remain dry and water appears from the heater body or from an internal area that cannot be identified as an external fitting, the tank itself becomes a stronger possibility.
A leak from the tank body is different from a leak at a connection that can be dismantled and resealed. Storage water heaters contain an internal tank designed to hold water under the appliance's specified operating conditions, and confirmed deterioration or damage to that tank requires an assessment of the heater as a whole. Random external sealing materials should not be applied to the heater casing as a permanent solution simply to stop a visible drip because the place where water emerges from the outer casing is not necessarily the exact location of the internal failure.
Rust or old water marks around the bottom of the heater provide useful information that deserves inspection, but they are not a final diagnosis by themselves. The technician needs to determine whether fresh water is continuing to appear or whether the marks are residual evidence from an older leak. If the internal tank is confirmed as the source, the appropriate solution should be evaluated according to the heater design and overall condition instead of continuing to operate a heater that is actively losing water. If moisture is close to electrical components, controlling the electrical risk and making the appliance safe should take priority before further testing.
-
If the connections and safety valve remain dry after the area has been cleaned and dried while fresh water continues appearing from the heater body, this strengthens the possibility of an internal problem that requires direct assessment.
-
Rust marks or old deposits are not enough to diagnose a leaking tank because the inspection needs to establish whether fresh water is currently appearing and identify where the first new moisture begins.
-
Applying sealing material to the outer casing is not a reliable tank repair because the point where water appears outside the heater may be different from the location of the actual internal damage.
-
If an internal leak is confirmed, the heater condition and appropriate repair or replacement decision should be evaluated instead of continuing to operate an appliance that is actively losing water.
-
Water reaching electrical parts changes the inspection priorities because making the electrical system and appliance safe should come before tracing the leak or operating the heater to observe the problem.
Identifying the Source of a Water Heater Leak
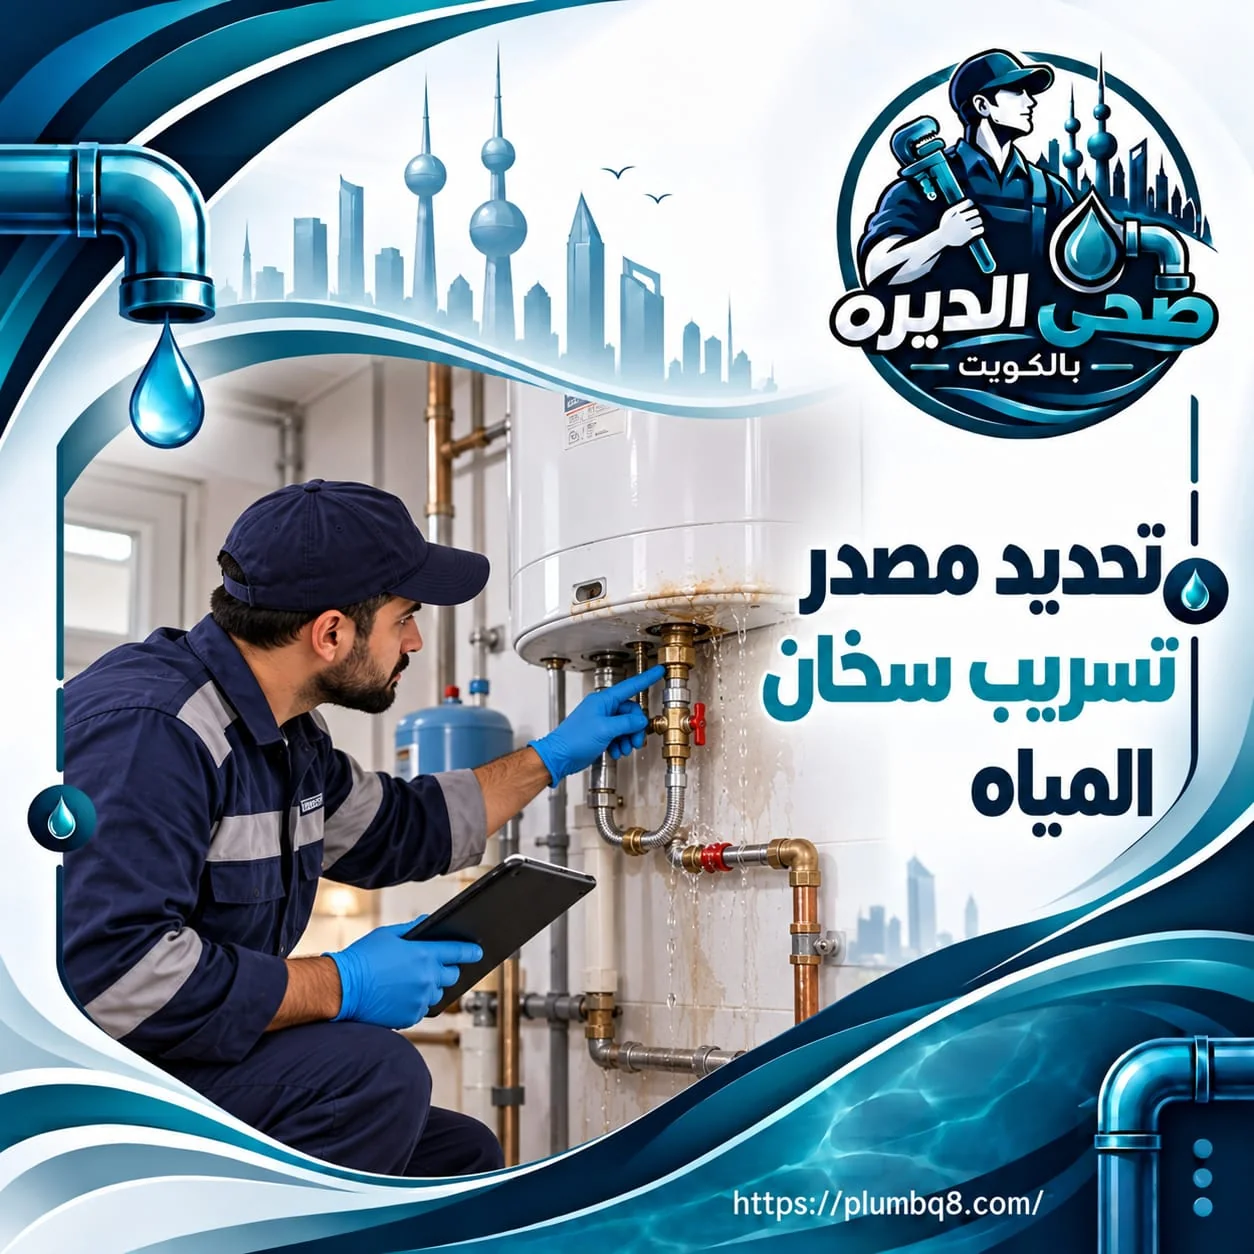
Identifying the source of a water heater leak becomes more accurate when the heater is divided into inspection areas instead of being treated as one single component. There are cold-water inlet and hot-water outlet connections, the safety valve, the heater body itself, and additional points that can vary depending on the appliance design. The objective is to identify where water first appears because the drop found at the bottom of the heater may have travelled all the way from the top of the appliance before reaching the floor.
A practical inspection begins with the heater and surrounding area as dry as reasonably possible. Accessible external connections should be observed first without random dismantling, followed by the safety valve discharge point and the heater body. The timing of the leak should also be noted. Is moisture present before heating begins? Does it start after the water temperature rises? Does it appear only when hot water is being used? Each pattern provides different information that can reduce the number of possible causes.
A realistic example is a user who sees water underneath the heater and assumes that the tank has failed. After tracing the moisture path, however, a small drip may be found beginning at a connection above the appliance and running down the casing. The opposite situation can also occur: all external connections remain completely dry while water emerges from an area within the heater body. In that case, repeatedly tightening external connections will achieve nothing. This difference is exactly why diagnosis should come before purchasing replacement parts.
Cost is another reason to identify the source first. Repairing an external accessible connection involves a different scope of work and different parts from inspecting a safety valve, addressing a pressure-related condition, or dealing with an internal leak. The amount of water on the floor does not determine the repair price. The relevant factors are where the leak begins, what is causing it, and what work is actually required to correct it.
-
Dividing the heater into separate inspection areas makes water tracing clearer because connections, the safety valve, and the tank body each involve different causes and repair approaches.
-
Observing the first point where moisture appears after drying the appliance provides stronger evidence than following the final drop that reaches the floor because water can travel across the heater surface.
-
Comparing the heater before and during heating helps determine whether the leak is associated with changes occurring during the heating cycle or remains present continuously.
-
Buying a new valve, fitting, or complete heater before identifying the source can create unnecessary expense if the component being replaced is not actually responsible for the leak.
-
Determining the cause first makes the cost estimate more closely reflect the real scope because repairing an exposed fitting is different from addressing pressure conditions or an internal tank leak.
Water Heater Safety Valve Dripping Water
If the water heater safety valve is dripping water, the most important point is not to treat it like a leaking faucet that simply needs to be closed by any available method. The valve is part of the safety system of a storage water heater, and its function is connected with managing pressure conditions according to the appliance design. Water coming from it therefore needs an explanation before the decision is made to replace the valve or attempt to stop the discharge.
Timing is particularly important in this situation. If dripping starts or becomes heavier while the water is heating, thermal expansion and changes in pressure need to be considered during the assessment. If water is discharged continuously under different operating conditions, the condition of the valve itself, the incoming pressure, and the system configuration should be inspected as appropriate. Not every drip proves that the valve has failed, but persistent discharge should not simply be dismissed as normal without investigation either.
A dangerous mistake is blocking the valve outlet or installing a shutoff device on it to prevent water from escaping. If the valve is discharging in response to a pressure condition, preventing that discharge interferes with the safety function for which the component exists. The discharge arrangement should also be suitable for the installation and should not direct water toward people or electrical components. Any replacement or modification involving the valve needs to account for the heater's requirements and system design rather than installing a component merely because it appears to fit the same connection size.
After repair or correction of the pressure-related cause, the valve should be monitored during an actual heating cycle. If dripping stops while the heater is cold but returns as the temperature rises, the underlying issue has not been fully resolved. The repair should be judged by the behaviour of the valve and system under the same operating conditions that previously caused water to appear.
-
Dripping from the valve during heating provides different information from continuous discharge, so the timing of the water release should be an essential part of the problem description given to the technician.
-
Replacing the safety valve without assessing why pressure is causing it to discharge may result in the new valve behaving in the same way if the underlying system condition remains unchanged.
-
Blocking the discharge opening is not a repair method because the valve performs a safety function and must remain capable of operating according to the heater design.
-
Selecting a replacement valve should not depend only on appearance because the component needs to be appropriate for the appliance requirements and installation rather than being chosen randomly.
-
Testing the heater through an actual heating cycle after the work is more meaningful than observing it while cold because some dripping conditions appear only when temperature and pressure change.
Why Is There Water Under the Water Heater?
When you ask why there is water under the water heater, the puddle on the floor cannot answer the question by itself. Water may be running down from a connection above the heater, coming from the safety valve, emerging from the appliance body, or even originating from another nearby source rather than the heater itself. The first step is therefore not simply to wipe up the puddle but to determine whether it returns and from which direction the water path begins.
If the heater is mounted on the wall, the upper parts should be inspected before focusing only on the bottom because water naturally travels downward. A small drip from an upper connection can run across the heater body and reach its base, creating the appearance of a tank leak. If the safety valve has a nearby discharge route, it should also be checked to determine whether the water on the floor is associated with that path. The surrounding area matters as well because a nearby pipe or another water source can create a puddle underneath the heater and send the diagnosis in the wrong direction.
The amount of water is also not enough to determine the type of fault. A small continuous leak can create a noticeable puddle over time, while a leak that occurs briefly under a particular condition may leave less water even though it still requires investigation. What matters more is how quickly the water returns, when it appears, and where the first moisture begins.
If there is any possibility that water has reached electrical connections or a cover containing electrical parts, repeatedly switching the heater on to see where it leaks is not an appropriate test. The electrical risk should be addressed first by a qualified person. Once the condition is made safe, the source of the water can be traced using an appropriate inspection process.
-
A puddle beneath the heater does not identify the leaking component because water can begin at a higher point, travel across the appliance body, and collect on the floor below.
-
Watching the direction from which water returns after the area has been dried helps distinguish between a source within the heater and another nearby source instead of automatically blaming the appliance.
-
The amount of water on the floor is not a direct measurement of fault severity because a small continuous leak can accumulate into a noticeable puddle over time.
-
If water appears only while the heater is heating, that information should be recorded because it directs the inspection differently from a puddle that returns even when the heater is not actively heating.
-
Water close to electrical components means repeatedly operating the heater for testing is not appropriate until the electrical risk has been controlled and safe access has been established.
Water Heater Leak Inspection Technician
Choosing a water heater leak inspection technician should be based on the diagnostic process rather than how quickly someone recommends replacing the entire heater. A capable technician should first ask when the water appears. Is the leak present continuously? Does it begin after heating starts? Does it increase when hot water is used? Is the water clearly visible at the safety valve, or does it simply collect under the heater without an obvious path? These questions can eliminate many possibilities before any component is dismantled.
The technician can then dry areas that can be accessed safely and observe where the first new moisture appears. External connections should be checked for the actual source of moisture, the condition of the connection, and alignment. The safety valve should be considered in the context of pressure and the heating cycle instead of being declared defective simply because it drips. If the connections and valve remain dry while new moisture appears from the heater body, the inspection should shift toward a possible internal problem rather than continuing to tighten external fittings.
After determining the cause, the technician should explain what requires repair and why. If a connection is responsible, the decision should be based on the condition of that fitting and the component it connects to. If the valve is discharging, the reason for the discharge should be assessed before replacement. If the tank itself is confirmed as the source, the condition of the heater and the appropriate solution should be evaluated instead of applying a temporary measure that merely hides the visible water.
Good diagnosis also matters for cost. Repairing an accessible connection is not the same scope of work as addressing a safety valve, a pressure-related issue, or an internal leak. A technician who defines the fault before recommending parts gives the customer a clearer repair decision than someone replacing components by trial and error. After the work is completed, the heater should be tested under the same conditions that previously caused the leak so that the result is evaluated realistically.
-
A technician who asks about leak timing before touching the heater can connect the appearance of water with heating, water use, or pressure conditions instead of relying only on the location of the puddle.
-
Tracing the first point where moisture appears after drying the heater reduces the chance of replacing a functional component because water travelling across the appliance can be misleading even when the puddle is large.
-
Safety valve inspection should include the reason for discharge and operating conditions rather than simple replacement because a new valve may also drip if the cause is elsewhere in the system.
-
A technician who explains the difference between a connection repair and a tank problem gives the customer a stronger basis for deciding between repair and replacement instead of paying for a guess.
-
After the work, the heater should be tested under the operating condition that originally produced the leak because remaining dry while cold does not prove that the problem has been resolved during heating.
Difference Between a Connection Leak and a Tank Leak
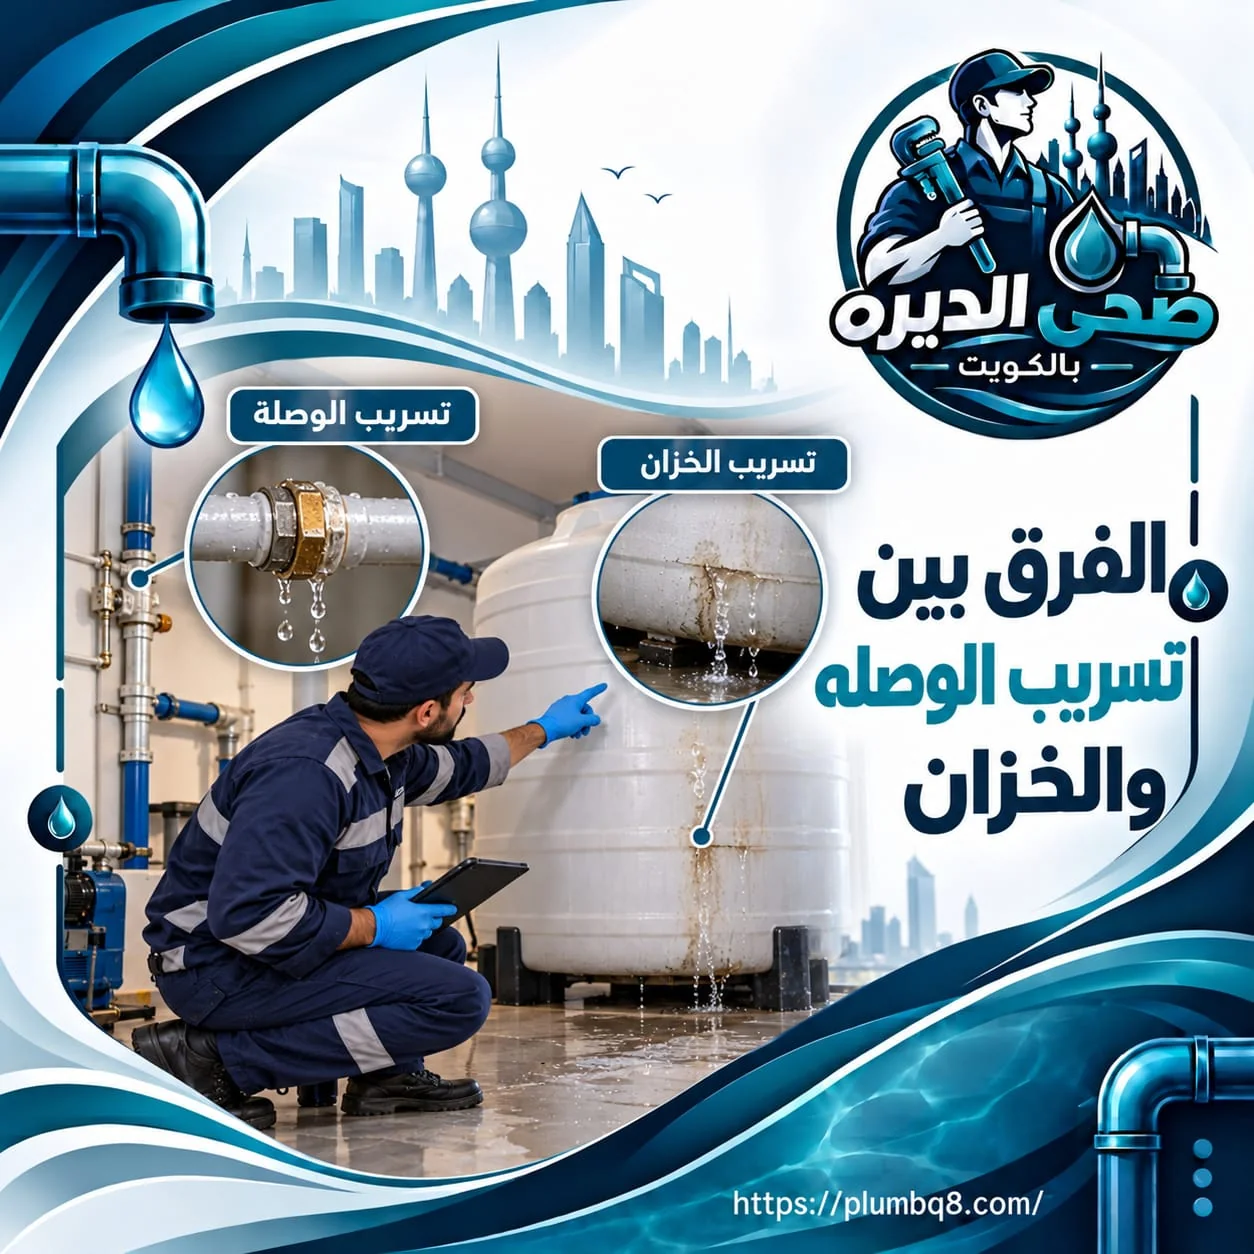
Understanding the difference between a connection leak and a tank leak can prevent an incorrect decision that results in replacing an entire water heater because of a simple external problem, or spending time repairing fittings when the actual problem is internal. A connection leak can often be traced to a visible joint after the area is dried and monitored, while a leak associated with the internal tank may appear from the heater body or a lower area after connections, the safety valve, and external sources have been ruled out. However, the location of collected water alone is not enough to make the distinction because a drop from the top of the heater can run down the casing and appear to come from the tank.
Another difference is the repair method. An external connection may need correct reassembly, an appropriate sealing method, replacement of a damaged component, or correction of alignment depending on the connection type. If the internal tank itself has lost its integrity, however, the problem cannot be treated as though it were simply a loose external fitting. The heater, its condition, and its design need to be evaluated to determine the appropriate solution. Applying material to the outer casing should not be treated as a guaranteed repair for an internal leak.
The appearance of the leak can provide clues, but it should not be used alone. A visible water trail beginning at a connection and running down the heater body is stronger evidence than moisture appearing only at the bottom. Conversely, if all external connections remain dry while fresh water repeatedly appears from the appliance body, suspicion of an internal source increases. The heater should be assessed after drying and under appropriate operating conditions while electrical safety is maintained.
This distinction is also important when considering repair cost and the appropriate decision. An external fitting repair usually involves a different scope from dealing with a damaged tank. The two conditions therefore should not be priced or treated as though they were identical. Identifying the source first shows whether the problem requires a localized repair or a larger decision involving the heater itself.
-
If the first drop clearly appears at a connection and then travels down the heater, that water path supports inspecting the connection before treating the tank body as the source.
-
If all external connections and the safety valve remain dry while fresh water emerges from the appliance body, the possibility of an internal source needs to be assessed instead of tightening the fittings further.
-
Repairing a connection depends on the fitting type, sealing condition, and mating component, while an internal tank leak requires a different evaluation and cannot be repaired using the same approach as an external fitting.
-
The puddle location underneath the heater does not distinguish between the two because water from a connection can travel down the casing and collect in the same area where an internal leak may become visible.
-
Determining whether the fault is external or internal before purchasing parts helps avoid unnecessary replacement of the entire heater and also prevents wasting time on functional connections when the problem is inside the appliance.
Water Heater Leak Repair in Kuwait
Water heater leak repair in Kuwait should begin with the cause of the leak rather than the amount of water that is visible. If an external connection is confirmed as the source, it should be repaired according to its type, sealing condition, alignment, and the condition of the component it connects to. If water is coming from the safety valve, the reason for discharge and the pressure and heating conditions should be evaluated before deciding that the valve needs replacement. If these external sources are ruled out and an internal tank leak is confirmed, the solution changes and requires an assessment of the heater as a whole.
Making the correct decision also matters for cost. Sometimes the repair is limited to an accessible external point, while other situations require a component suitable for the specific heater. In other cases, the scope becomes larger because an internal leak has been confirmed. A realistic price therefore depends on the type of fault, required parts, accessibility, and condition of the installation. Every situation described simply as a leaking water heater should not be given the same repair price.
Temporary measures that only hide the visible drip without addressing the cause should also be avoided. Blocking the safety valve is not a repair. Tightening every connection is not a diagnosis. Applying random materials to the heater body is not a substitute for identifying an internal leak. If water reaches electrical components, the problem should not be treated as an ordinary plumbing leak alone because electrical safety becomes a priority before testing continues.
After the repair, the area should be cleaned and dried, and the system should be operated appropriately while being monitored under the conditions that previously caused the leak. If the problem appeared during heating, the test should include an actual heating cycle. If the leak was continuous, the repaired area should be monitored under normal operating conditions. This way, repair success is based on testing the original cause rather than simply seeing a dry floor when the technician leaves.
-
A leaking connection should be repaired according to its type and installation condition instead of applying one method to every fitting because different connections have different sealing and alignment requirements.
-
Addressing safety valve dripping begins with understanding why it is discharging before replacing the valve so the same symptom does not simply return with the new component.
-
If the tank is confirmed as the source, continuing to tighten fittings or applying material to the casing wastes time without correcting the problem that has actually been identified.
-
Water heater leak repair cost depends on the fault location, required component, accessibility, and nature of the work, so proper diagnosis is what defines the realistic scope of the repair.
-
Testing the heater after repair under the same heating or usage conditions that previously caused the leak is the practical way to confirm that water has stopped at its source rather than disappearing temporarily.
Conclusion
A leaking water heater does not have one universal solution because water may be coming from an external connection, the safety valve, or the tank body itself. The most important step before repair is to dry the area, trace the first point where water appears, and observe whether the leak is continuous or begins during the heating cycle. These details distinguish a connection problem that may be locally repairable from a safety valve that requires investigation of why it is discharging and from an internal condition that requires a different decision.
With Sehi Al Deira, the focus is on identifying the source of the leak before replacing components or deciding that the entire heater needs replacement. Not every drip from a safety valve is automatically treated as a defective valve, and not every puddle underneath a heater is assumed to mean that the tank has failed. After the cause is addressed, the heater should be tested under the same conditions that previously produced the leak, while safety remains the priority whenever water has reached electrical connections or components.
Frequently Asked Questions About Water Heater Leaks
How can I tell whether the leak is from a connection or the tank?
Dry the externally visible areas and observe where the first new water appears without opening electrical components. If a drop begins at a visible connection and travels down the heater body, that connection should be inspected first. If the connections and safety valve remain dry while fresh water appears from the appliance body, the heater needs further inspection for a possible internal source.
Does a dripping safety valve mean that it is defective?
Not necessarily. The valve may discharge water because of conditions associated with pressure or thermal expansion during heating depending on the system design, although the valve itself may also have a problem. The important step is determining when the dripping begins and assessing the operating and pressure conditions instead of immediately replacing the valve without identifying the cause.
Can I block the safety valve to stop the water?
No. The safety valve is a component associated with protecting a storage water heater, and its discharge outlet should not be blocked or its function disabled simply to stop dripping. If water is being discharged, the reason needs to be diagnosed and the underlying issue addressed rather than preventing the valve from performing its intended safety function.
Why does the water heater leak only when the water heats up?
If the leak appears or increases during heating, changes in temperature, water expansion, and pressure become factors that need to be evaluated. Some connections may also reveal sealing problems under particular operating conditions. The timing of the leak is therefore important because it helps the technician choose the appropriate inspection approach instead of assessing the heater only while it is cold.
Does water underneath the heater mean that the tank is leaking?
No. Water may be travelling down from a connection above the appliance, coming from the safety valve, or even originating from another nearby source before collecting beneath the heater. The moisture path should be traced from the highest practical point after the area is dried before the tank is blamed. Replacing the heater based only on the location of the puddle can lead to an incorrect and unnecessary decision.
Will tightening the water heater connection more stop the leak?
Not always, and excessive tightening can damage some types of connections. The leak may be caused by a damaged seal, unsuitable sealing method, incorrect alignment, or a problem with the mating component. The connection type and the actual reason for water escaping should be identified before repair instead of treating additional force as a universal solution.
Can the water heater tank be repaired if it is the source of the leak?
The appropriate decision depends on the heater design, the nature and location of the damage, and the overall condition of the appliance. If an internal leak is confirmed, the situation needs to be evaluated properly to determine the suitable solution. Applying material to the external casing should not be considered a guaranteed repair because the point where water appears outside may not be the location of the internal tank damage.
When does a water heater leak become dangerous?
The situation becomes more concerning when water reaches electrical connections or components or when there are other abnormal signs involving the electrical side of the appliance. Wet electrical parts or covers should not be touched or opened. The condition should be made safe and assessed by an appropriately qualified person before the leak inspection continues.
What determines the cost of repairing a leaking water heater?
Cost depends on the source of the leak, the type of component required, accessibility, and the condition of the installation. Repairing an external connection is different from addressing the reason a safety valve is discharging, and both differ from a confirmed internal tank leak. Identifying the cause first is therefore necessary to establish a realistic repair scope.
How can I confirm that the water heater leak has been repaired?
After the repair, the heater and surrounding area should be dried and the repaired point monitored under the same conditions that previously produced the problem. If the leak appeared during heating, the heater should be checked through an appropriate heating cycle. If the leak was continuous, it should be monitored under normal operating conditions. A successful repair means that no new water returns from the identified source, not simply that the floor remains dry for a short period.
Need help from a plumber?
Related articles
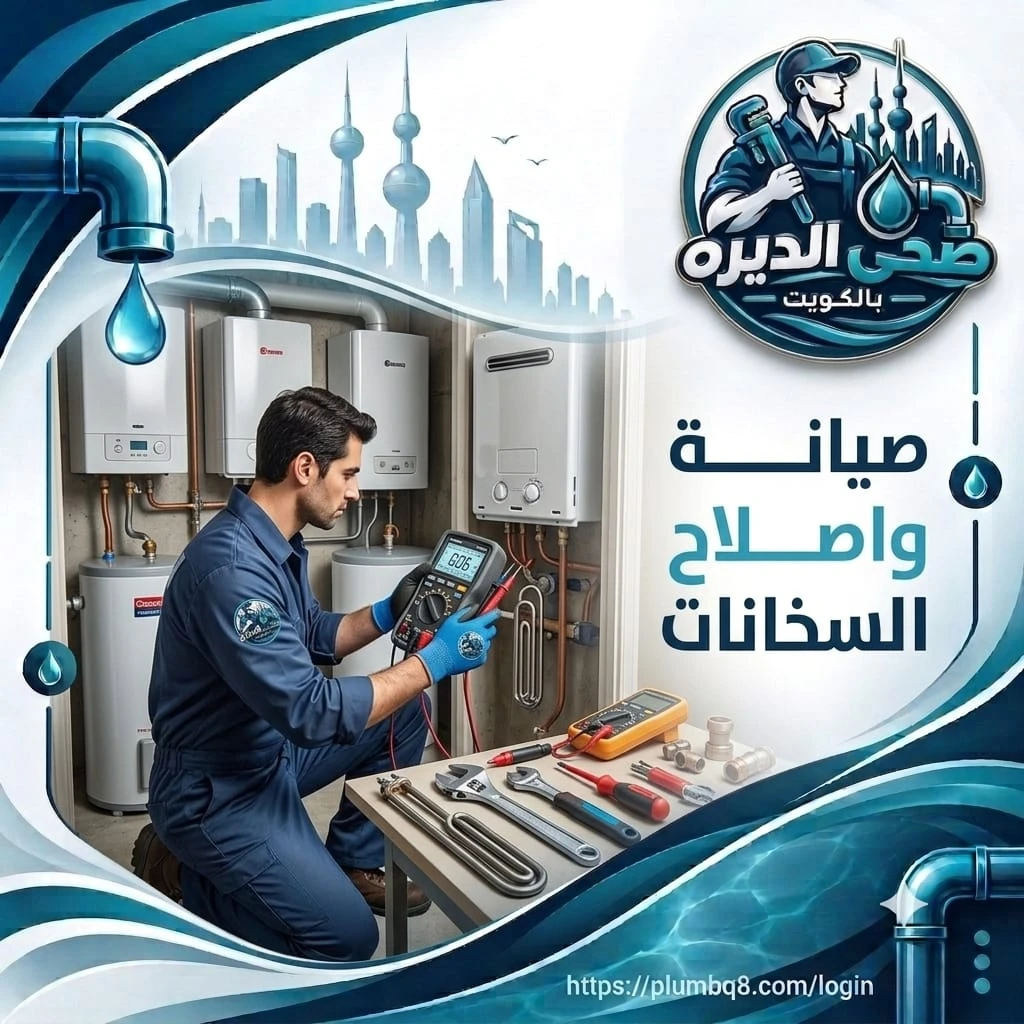 ♨️ Water Heater Repair & Service
Water Heater Maintenance Before Winter: What Does It Include?
 🪠 Bathroom & Toilet Drain Unclogging
Toilet Clogged? Is the Blockage in the Toilet or Drain Pipe?
 🚨 24/7 Plumbing Emergency