Water Shutoff Valve Won't Close? Isolate Supply Before Replacement
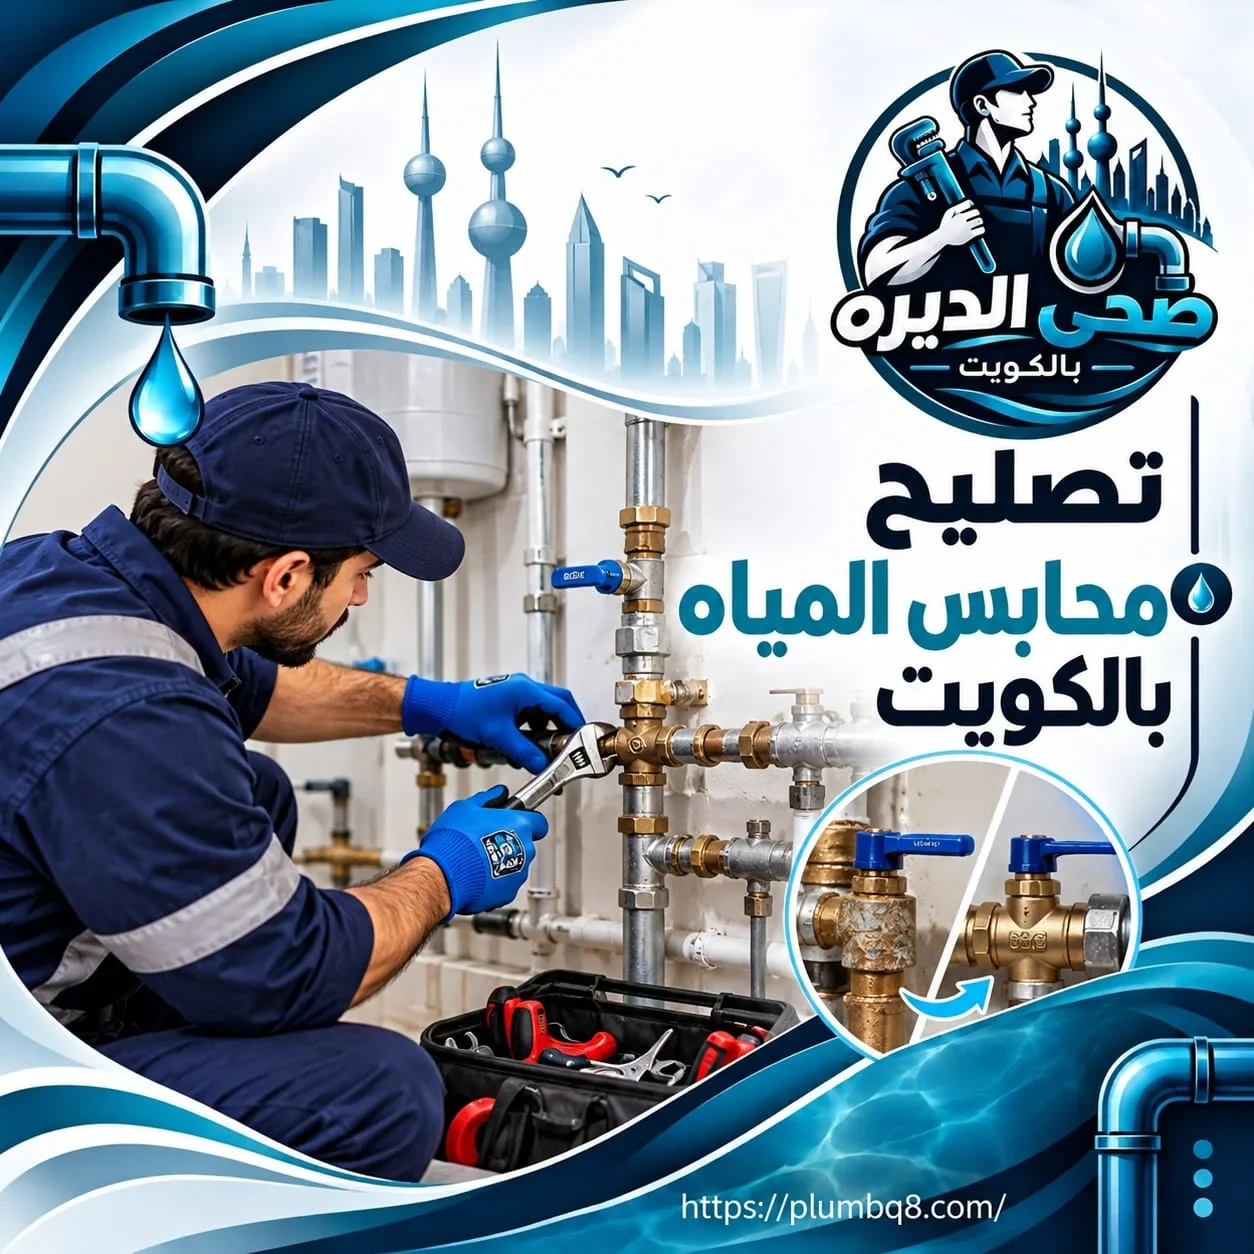
You try to close a water shutoff valve to repair a faucet or stop a leak, only to discover that water is still flowing. This situation requires careful handling, especially when the main shutoff valve fails to close or its handle turns without stopping the water. The problem may involve a damaged internal mechanism, worn sealing components, or a valve that has become stuck because of mineral deposits. Before replacing any valve, however, you must identify where the water supply can be isolated and confirm that the line is no longer pressurized. Removing a valve while water is flowing can cause serious leakage and property damage. This article explains how to distinguish a stuck valve from a defective one, when replacement is necessary, and what should be checked before repairs begin.
Water Shutoff Valve Won't Close

If your water shutoff valve won't close, the first thing to determine is whether the handle turns but water continues flowing, or whether the handle is completely stuck and cannot move. These are different problems that require different approaches. A valve that moves without stopping water may have a damaged internal closing mechanism, while a valve that cannot be turned may be seized because of mineral deposits, corrosion, or a long period without use.
Imagine preparing to replace the flexible supply hose beneath a bathroom sink. You close the small shutoff valve, but water continues coming out of the faucet. In this situation, you must not assume that the pipe is safe to disconnect simply because the valve handle has reached its closed position. You need to confirm that water flow has actually stopped and that any remaining pressure has been dealt with before separating a connection.
Another warning sign is a valve handle that rotates unusually freely or requires excessive force to move. Free rotation may indicate that the handle is no longer properly connected to the internal closing mechanism, while severe resistance may suggest that internal components have become stuck. However, identifying the actual cause requires knowing the valve type and condition because older and newer shutoff valves can have different operating mechanisms.
It is equally important to notice whether water is leaking from the valve body or around its handle. This is a different problem from failure to shut off the water supply and may require urgent attention if leakage continues. In some cases, a valve can reduce water flow but cannot isolate the line completely. Partial closure is not sufficient when you intend to disconnect a pipe or replace a connected component.
One common mistake is using pliers or a large wrench to force the valve handle to turn. Excessive force may break the handle, damage the operating stem, or weaken the connection to the pipe, particularly in older installations. If the valve breaks while the line remains pressurized, a relatively small problem can become an uncontrolled water leak.
The correct approach begins by identifying an upstream shutoff point in the plumbing network. If the main shutoff valve itself is defective, the technician may need to arrange isolation from an earlier point in the system or coordinate with the authority responsible for the supply line before replacement begins.
-
If you close the valve but water continues coming from the faucet, do not disconnect the flexible hose or fitting because the handle position does not prove that the supply has been isolated.
-
If the valve handle rotates without normal resistance, have the operating mechanism inspected instead of tightening the handle aggressively or assuming that the valve has closed.
-
If the valve is seized and will not move, avoid using tools to apply excessive force because you could break an internal component or cause leakage at the pipe connection.
-
If droplets appear around the valve handle or body, identify where water is escaping because the problem may involve external leakage in addition to incomplete shutoff.
-
If the defective valve is the only isolation point for part of the property, a safe method of stopping the upstream water supply must be established before any dismantling or replacement.
Water Shutoff Valve Replacement in Kuwait
Water shutoff valve replacement in Kuwait involves more than removing one component and installing another. A successful replacement depends on isolating the water supply and selecting a valve compatible with the pipe material, operating pressure, and intended application. Some valves are designed to isolate the supply to a sink or toilet cistern, while others control a main line supplying several fixtures. The replacement should therefore never be chosen solely because it looks similar to the old valve.
Imagine having an old shutoff valve beneath a sink that no longer closes properly. You want to replace it before installing a new faucet. The first step is not to unscrew the valve but to identify an upstream valve capable of isolating its supply. The technician must then confirm that the water has stopped and that residual pressure has been safely released before work begins.
The technician also needs to determine the connection size, fitting type, and condition of the pipe end. Some valves connect through threaded fittings, while others require a different installation method depending on the pipe material. If the threads are damaged or the pipe is corroded, the connection may need repair before the new valve is installed to prevent leakage when water pressure is restored.
Selecting a valve suitable for domestic water use is also important. Its construction, pressure rating, and compatibility with the existing plumbing should be considered. A cheaper valve is not necessarily economical if it has a short service life or requires frequent replacement. Equally, there is no reason to install an unnecessarily expensive valve with specifications beyond what the line requires without a technical justification.
You should also establish whether the replacement requires shutting off water to one bathroom or the entire apartment. In some buildings, main isolation valves are located inside utility rooms or shared service areas. The technician may need to coordinate the interruption so neighboring residents or other occupants are not unexpectedly affected.
After installation, checking that the new valve does not drip while open is not enough. Its opening and closing functions must be tested, and the connections should be inspected under normal operating pressure to confirm that it isolates the water properly. If a flexible hose is connected to the valve, its condition and installation should also be assessed during reassembly.
Replacement costs depend on the valve location, accessibility, connection type, and pipe condition, not merely the purchase price of the component. Replacing an exposed valve beneath a sink is different from replacing a main valve inside a confined service box or one requiring special supply isolation arrangements.
-
When requesting valve replacement, specify whether it serves a sink, toilet cistern, or main supply line because each location requires a different assessment of isolation and installation.
-
If the pipe end or threaded connection is damaged, it should be repaired before installing the replacement rather than relying on sealing material to conceal an obvious defect.
-
If the valve is located in a shared building service area, coordinate the water interruption with the responsible party to avoid unexpectedly disrupting other residents.
-
After a new valve is installed, the work should not be considered complete until its ability to stop water flow has been tested and the connections checked after pressure is restored.
-
When comparing replacement quotations, ask whether the price includes a suitable valve, installation materials, testing, and any expected additional work instead of comparing component prices alone.
Main Water Shutoff Valve Does Not Close
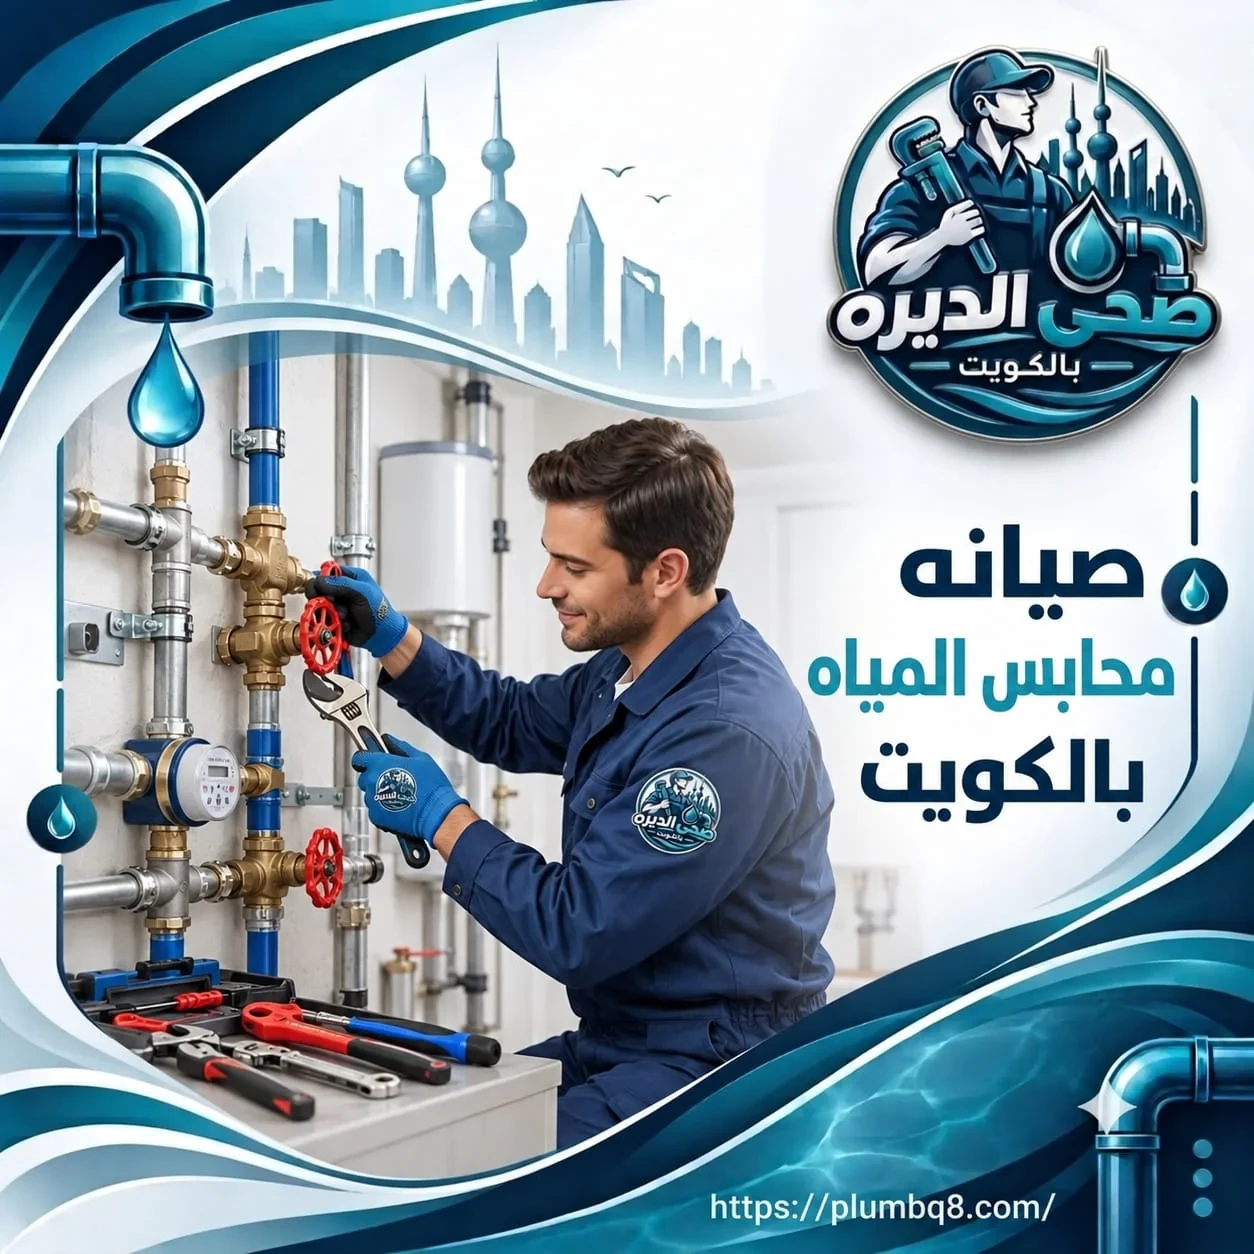
If the main water shutoff valve does not close, the problem deserves greater attention than a defective branch valve beneath a sink. The main valve is responsible for isolating the supply to a substantial part of the house or the entire residential unit. If it fails during a sudden plumbing leak, you may be unable to stop the water at the point you normally rely on. Addressing the problem before an emergency occurs is therefore preferable.
Imagine discovering a leak in a bathroom supply pipe and attempting to close the apartment's main valve, only to find that water continues flowing. First, establish whether the valve you closed is actually the correct isolation point. Some buildings have several shutoff valves or separate supply lines. An overhead water tank may also continue feeding certain outlets through gravity even after another incoming supply has been closed.
It is important to distinguish water continuing to drain briefly from the pipes from water continuing to flow because the valve has not closed. After correct isolation, some water remaining inside the plumbing may still escape. However, sustained flow at a noticeable rate requires checking whether another supply source remains connected.
An older main valve may have a worn or damaged internal closing mechanism. Sometimes the operating handle appears intact, but the internal component does not move as intended. If the valve is seized, forcing it to turn can damage its body or connections and potentially release pressurized water.
The problem becomes more complicated when the main valve is inside a confined service box or near the water meter. Not every visible component in this area can be dismantled or modified by the property owner, particularly when it belongs to a public supply network or building management system. Identifying who is responsible for the isolation point is essential before replacement.
If no other reliable shutoff valve exists within the residential unit, the technician may need to coordinate isolation from an earlier point in the system. Properties with pumps or storage tanks also require attention to their operating arrangements so that one source is not disconnected while another continues supplying the same line.
Postponing repairs because the main valve is not currently leaking is a mistake. Its primary purpose is to provide a reliable way to isolate the supply when needed. Once it loses that function, relying on it during an emergency becomes unsafe. It should therefore be inspected even when no visible moisture is present.
-
If you close the main valve but water continues flowing, confirm that you have identified the correct isolation point and that no tank or alternative line is still supplying the outlets.
-
If a small amount of water continues draining after closure, distinguish residual water inside the pipes from sustained flow before concluding that the valve has failed.
-
If the valve is near the meter or forms part of shared building equipment, do not dismantle it before identifying the responsible party and arranging appropriate supply isolation.
-
If the main valve is seized, do not force it because breaking it under pressure may turn a shutoff problem into a leak that is difficult to control.
-
If the main valve cannot isolate water completely, arrange an inspection and replacement when necessary before an emergency makes you dependent on that defective valve.
Technician for Replacing a Defective Water Valve
When you need a technician for replacing a defective water valve, the most important consideration is whether the technician knows how to isolate the supply before removing the old component. Some faults are obvious, such as water leaking from the valve body. Others only become apparent when you attempt to close the valve and discover that water continues flowing. Replacement requires proper preparation, particularly when the valve is connected to older pipes or installed in a confined location.
Imagine a valve inside a kitchen cabinet with a broken handle but no visible water leakage. You might assume that replacing the handle is sufficient. However, the technician should first confirm that the internal shutoff mechanism remains functional. If the operating stem is damaged or the valve cannot isolate the water, replacing the handle alone will not resolve the problem.
The technician should identify the valve type, size, and method of connection to the pipe. Some valves can be removed from threaded fittings, while others are installed in ways that require work on part of the pipe itself. Older connections should be assessed before dismantling because forcing the valve loose may damage the surrounding plumbing.
It is also important to know whether the valve supplies one fixture or several. A valve beneath a sink may control only one faucet, while a valve inside a utility room may isolate more than one bathroom. This distinction determines which services must be interrupted during repairs and whether residents need to make temporary arrangements for water use.
If leakage is present, the technician should identify its exact source. Sometimes water appears around the valve but actually comes from the flexible hose connection above it or from a fitting on the opposite side. Replacing the valve without locating the escape point could leave you paying for a new component while the original leak remains.
If the valve is corroded or heavily affected by mineral deposits, it should be handled carefully rather than forcibly removed. The choice between repairing part of the valve and replacing it completely depends on its design, condition, and the availability of suitable components. Replacing certain small valves may be more practical than repairing a damaged internal mechanism, but this decision should follow inspection.
After replacement, the valve should be tested in both its open and closed positions. The connections should also be checked for dripping once normal water pressure has returned. This confirms that the new component performs its isolation function rather than merely fitting into the position of the old one.
-
If the valve handle is broken, do not request handle replacement alone before confirming that the operating stem and internal mechanism can still stop water flow.
-
If the valve is installed on an old pipe, assess the connection before dismantling so replacing a small component does not damage the surrounding plumbing.
-
If the valve supplies several fixtures, establish the extent of the water interruption and arrange it beforehand to avoid unexpectedly disrupting essential household use.
-
If moisture is visible around the valve, ask the technician to identify the first point of leakage because water may be coming from a hose or neighboring fitting rather than the valve body.
-
After the replacement is installed, test the valve's opening and closing functions and inspect the connections under normal operating pressure before considering the repair complete.
Repairing a Stuck Water Shutoff Valve
Repairing a stuck water shutoff valve requires caution because the problem is not always a simple buildup of deposits that can be removed by turning the handle back and forth. A valve that has remained unused for years may become difficult to operate because of mineral deposits or corrosion. Sometimes internal damage means that forcing it to move causes breakage rather than restoring its function.
Imagine an old bathroom valve that will not turn when you attempt to shut off the water before replacing a shower mixer. The first thing to avoid is attaching a long wrench to the handle to increase leverage. The valve may be connected to a fitting inside the wall, and excessive force can transfer stress to the concealed pipe or fitting, creating a leak that is more difficult to repair than the original problem.
The valve type must be identified before deciding whether repair is possible. Some valves contain serviceable internal components, depending on their design. Others are better replaced completely when the closing mechanism fails. It would be incorrect to assume that every seized valve simply needs lubrication or that spraying an arbitrary substance onto it will restore safe operation.
If the problem is limited to the external operating handle, the repair may differ from one involving a seized internal mechanism. However, distinguishing between these conditions requires inspection because the handle may appear fixed while the actual fault lies in the operating stem or the component responsible for stopping water flow.
The condition of the valve body also matters. If it shows severe corrosion, cracking, or leakage around the stem, attempting to force it open or closed may create unnecessary risk. In this situation, arranging upstream isolation and replacing the damaged component may be more appropriate if it is confirmed to be unsuitable for continued use.
Dismantling valve components while the line remains pressurized in an attempt to remove internal deposits is another mistake. Even if visible flow is weak, water may escape suddenly when the sealing mechanism is opened. Internal servicing therefore requires confirmed isolation and suitable pressure release.
Choosing between repair and replacement depends on the availability of compatible parts, the valve's condition, age, and accessibility. If repairing an old mechanism costs nearly as much as installing a suitable new valve, replacement may be the more practical option. However, this should not be generalized to every situation without inspection.
-
If the valve handle is seized, do not use a long lever to increase force because the resulting stress may damage a connection inside the wall or break the operating stem.
-
If the valve is old and has not been operated for a long time, have its condition assessed before repeatedly trying to move it because corrosion may have affected internal components.
-
If cracking or severe corrosion is visible on the valve body, do not rely on cleaning alone before determining whether the valve can be operated safely.
-
If you are considering using a substance to improve movement, confirm that it is suitable for the valve material and domestic water system rather than applying products not intended for plumbing.
-
If repair requires opening the valve mechanism, isolate the water supply and release pressure first because weak visible flow does not mean the line is safe to dismantle.
Faucet Shutoff Valve Does Not Stop Water
If the faucet shutoff valve does not stop water, first determine which valve is actually causing the problem. Is it the supply valve beneath the sink, or is it the closing mechanism inside the faucet itself? These situations require different diagnoses and repairs. A faucet may continue dripping even though its handle is closed while the supply shutoff valve works correctly. Conversely, the faucet may be functioning normally while the valve beneath it cannot isolate water for maintenance.
Imagine a bathroom sink mixer dripping from its spout. You close the cold-water supply valve beneath the sink, but the dripping continues. You need to establish whether the remaining water inside the mixer is draining briefly or whether the valve has failed to stop the supply. If the mixer receives hot and cold water through separate lines, water may continue coming from the other line after only one valve has been closed.
This is particularly important with modern mixer faucets because some contain internal mixing cartridges, and symptoms vary according to the cartridge's condition and the way the supply lines are connected. One valve should not be declared defective simply because dripping continues without checking the other possible water sources.
Another common situation involves a small supply valve inside a cabinet filled with stored items. Its connections may be exposed to pressure or pulling forces during storage and cleaning. If the flexible hose is twisted or stretched, a problem may develop at the point where it joins the valve. Checking the arrangement of connections inside the cabinet is therefore part of the inspection.
Some supply valves are also installed very close to the wall, making them difficult to remove without affecting the fitting emerging from the wall. If that fitting is already damaged, the technician must take care before applying force to avoid affecting the concealed connection.
If the faucet itself does not stop water when its handle is closed, the fault may lie inside the mixer mechanism rather than in the supply valve. The repair would then be different and may require inspecting an internal component suitable for the faucet type instead of replacing a functioning shutoff valve.
The objective is to avoid paying for a new supply valve when the actual problem is inside the mixer, or replacing faucet components when the supply valve is defective. Each component performs a different function, and the failed part must be identified correctly.
-
If the faucet continues dripping after its handle is closed, do not automatically assume that the supply valve is defective because the problem may involve the faucet's internal mechanism.
-
If you close the cold-water valve but water continues flowing, check whether a hot-water line remains connected to the mixer before concluding that the cold-water valve has failed.
-
If the faucet shutoff valve is inside a crowded cabinet, move stored items away from the connections and avoid placing weight or continuous tension on the flexible hose.
-
If the valve is close to the wall and the exposed connection is short, do not force it loose because damage to the concealed fitting may require more extensive repairs.
-
If you are replacing a sink mixer, do not disconnect the hoses until both hot and cold supplies, where present, have been isolated and residual pressure has been released.
Isolating the Water Supply Before Valve Replacement
Isolating the water supply before valve replacement is the most important step in the process. The valve itself forms part of a network that may remain pressurized even after certain outlets have been closed. Removing a valve must not be treated like disconnecting an ordinary component because incorrectly identifying the isolation point can result in continuous water discharge as soon as the fitting is opened.
Imagine replacing a valve beneath a bathroom sink. If another valve can isolate the supply to the entire bathroom, it may be possible to use that valve after confirming that it operates correctly. However, if the defective valve is the first isolation point on the line, you must locate an upstream point. This is why understanding the water supply route is essential before preparing tools or purchasing the replacement.
You must not rely solely on the position of a valve handle. Some older valves can move into the closed position while still allowing water through because of internal wear. The supply must therefore be confirmed as isolated, and remaining water and pressure in the section being opened must be dealt with appropriately.
Some houses also have more than one supply source, such as an overhead tank and pump or separate hot- and cold-water lines. Closing one source does not guarantee that every connected line has been isolated, particularly if the valve being replaced is part of a network with several possible flow routes.
In apartment buildings, the upstream isolation point may be inside a shared utility room. Randomly closing valves or interfering with components near the meter is inappropriate because it may interrupt water to other apartments or involve equipment managed by another responsible party.
Pump operation must also be considered during isolation. Some systems require the pump to be shut down or controlled appropriately so that it does not operate against a closed line or without sufficient water. The correct procedure depends on the system design and equipment instructions.
Another mistake is slightly loosening the defective valve to check whether pressure remains before isolating the supply. This can cause sudden water discharge if the fitting is weak. A technician should instead use a safe verification method at suitable points in the system without placing additional stress on the damaged connection.
After replacement, the supply should be restored in a controlled manner that allows the new connections to be monitored. Turning the water back on and immediately leaving without testing may allow a small leak to go unnoticed as pressure returns.
-
If the valve being replaced is the first isolation point on the line, do not remove it until an upstream source capable of reliably stopping the supply has been identified.
-
If the property has a tank and pump, understand which supply sources connect to the line so another source does not continue feeding the valve during replacement.
-
After closing an upstream valve, do not rely on its handle position alone; confirm that flow has stopped and deal with residual pressure and water before disconnecting the fitting.
-
If the isolation point is inside a shared utility room, coordinate with the party responsible for the network before interrupting the supply or handling shared equipment.
-
When water is restored after installation, monitor the connections and test the valve's shutoff function before returning the area to normal use.
Replacing a Bathroom Water Supply Valve
Replacing a bathroom water supply valve requires identifying its function before selecting the replacement. Some bathroom valves control only the toilet cistern supply, others isolate the sink mixer, while some control the supply to the entire bathroom. The differences involve more than connection size; they also affect how the valve is used, where it is installed, and how easily it can be reached when needed.
Imagine a toilet cistern supply valve that no longer closes properly. You want to replace the cistern's internal filling valve. If you disconnect the supply hose before confirming isolation, water may continue flowing from the pipe. Replacing the shutoff valve itself therefore requires first identifying an upstream isolation point that reliably stops the supply.
Bathrooms with valves concealed behind covers or inside service boxes also require attention to accessibility after installation. Installing a replacement that is difficult to reach or operate can create another problem when water needs to be stopped quickly in the future.
The condition of surrounding connections matters as well. Persistent bathroom moisture can affect certain metal components over time, particularly where an older leak has not been repaired. If the connection between the valve and pipe is damaged, the repair may require more than replacing the visible component.
The new valve must also be compatible with the pipe, flexible hose, or fixture it supplies. Differences in size or thread type can result in unsuitable installation. Excessive tightening or indiscriminate use of sealing materials should not be used to compensate for incompatible fittings.
If the valve supplies a water heater or part of the hot-water network, the isolation procedure and appliance requirements must be considered before replacement. Working on hot-water lines may involve additional risks associated with temperature and pressure, requiring an assessment appropriate to the installation.
From a practical perspective, the replacement should be suitable for the location and easy to operate when needed. The goal is not simply to fit a new component but to ensure that it provides reliable isolation without requiring excessive force or access to a hazardous location.
-
If the bathroom valve supplies the toilet cistern, do not disconnect the filling hose until the water has been reliably stopped at a suitable upstream isolation point.
-
If the valve is inside a service box, maintain access after replacement so it remains usable when leakage occurs.
-
If corrosion is visible around the valve connection, assess the condition of the pipe end before installing a new component onto a weakened fitting.
-
If the valve connects to a hot-water line or water heater, account for temperature, pressure, and appliance instructions before beginning work.
-
When selecting a replacement valve, confirm that its size and connection type are compatible with the plumbing rather than forcing an unsuitable component into place.
Replacing a Shutoff Valve Under the Sink
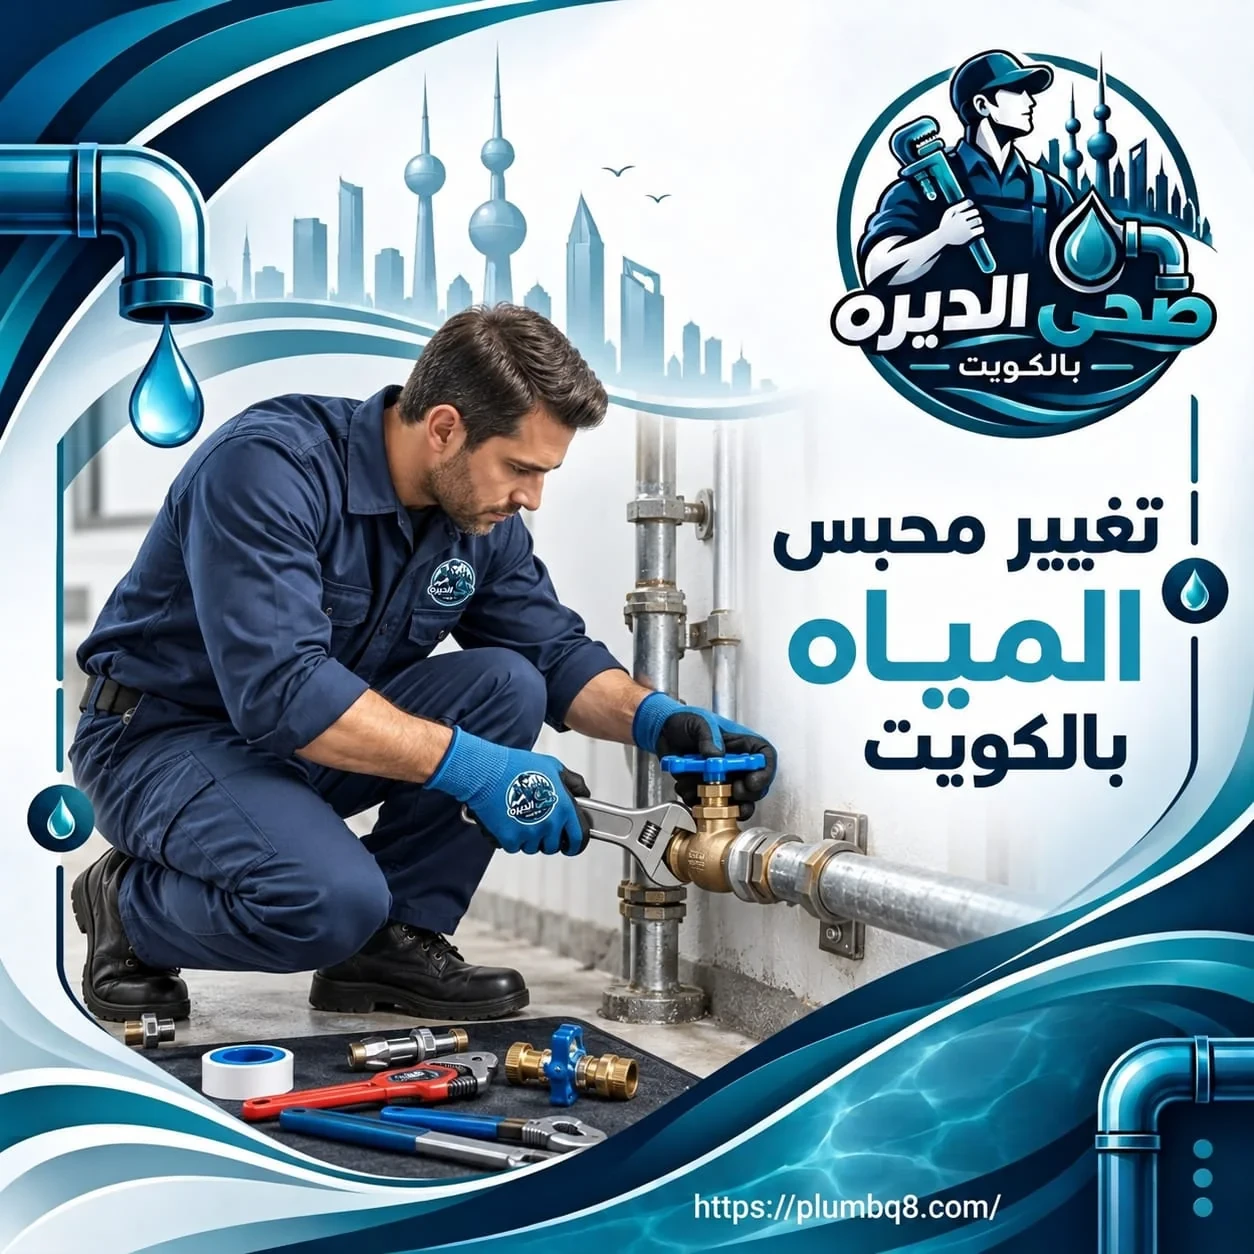
Replacing a shutoff valve under the sink may appear straightforward, but it requires care because the working space is often confined and contains flexible hoses and connections close to the wall. An uncontrolled movement while removing the old valve may pull on a hose or shift the pipe emerging from the wall, particularly when the fittings are old.
Imagine a kitchen sink with a shutoff valve leaking droplets around its handle. The first step is to determine whether the water is coming from the valve itself or the flexible hose connection. Water may run down from an upper fitting and collect around the valve body, making it appear to be the source.
You should also establish whether the sink has separate hot- and cold-water lines. Some people notice a leaking mixer, close only one supply valve, and then assume that the valve has failed because water continues flowing from the other line. Checking the connections prevents unnecessary replacement of a functioning component.
Available working space also affects replacement. If the valve is very close to the wall or behind a deep sink bowl, the technician may need suitable tools to access it without applying sideways pressure to the pipe. Excessive force should not be used simply because the location is difficult to reach.
The flexible hose connected to the valve should also be inspected during the work. If it shows bulging, cracking, or corrosion at its ends, separate replacement may be necessary depending on its condition. However, not every older hose should automatically be declared defective without inspection.
After the new valve is installed, the hose should be arranged so that it is not twisted or subjected to abnormal tension. Continuous pulling can affect the connections even when no leakage appears immediately after installation.
Closing the sink cabinet immediately after replacement without monitoring the fitting is another mistake. Small droplets may not be obvious at first, particularly if water runs behind the pipe or along the cabinet's inner wall. Inspecting the area after restoring the supply is therefore essential.
-
If you notice droplets around the sink shutoff valve, dry the area and identify where moisture originates before replacement because water may be coming from the hose connection above it.
-
If the mixer has two supply lines, identify the purpose of each valve and confirm that the appropriate supply has been isolated before disconnecting any hose.
-
If the valve is installed close to the wall, avoid forceful movement during removal because stress may be transferred to the pipe connection inside the wall.
-
If the flexible hose is damaged near its ends, assess whether it should be replaced during the work rather than reinstalling a component with visible signs of deterioration.
-
After replacement, confirm that the hoses are not twisted and that all connections remain dry after reopening the supply and testing the valve.
Water Shutoff Valve Replacement Cost in Kuwait
Water shutoff valve replacement cost in Kuwait varies according to the valve type, location, connection method, and condition of the surrounding plumbing. One fixed price cannot reasonably cover every situation. Replacing a small exposed valve beneath a sink is different from replacing a main shutoff valve that requires isolating an entire apartment or working with old connections inside a service box.
Imagine having two defective valves. The first is beneath a bathroom sink, with visible connections and easy access. The second is a main valve inside a confined space, with no nearby reliable isolation point. Although the two components may look similar from the outside, the scope of work differs, and this affects the total cost.
The valve purchase price is only one part of the calculation. The technician needs to determine its size, type, and operating specifications. Suitable installation materials may also be required, or a damaged fitting may need repair. If the pipe is in good condition, the work may be simpler than a situation where the pipe end must be repaired before the new valve can be installed.
Ask whether the quoted price includes inspection, replacement, the new component, and leakage testing, or whether some items are charged separately. This helps you compare quotations fairly rather than choosing the lowest initial figure and later discovering that the valve or additional work is not included.
Some cases also require coordination to isolate water from a shared supply point or arranging a suitable time for the work. If access to the valve requires opening a service cover or removing part of the finish, this should be explained before work begins, including whether it is included in the quotation or requires separate approval.
The decision to repair or replace the valve should depend on its condition. If the fault involves a serviceable component and the valve remains suitable for use, repair may be possible. However, if the body is damaged or the internal closing mechanism is no longer reliable, replacement may be more appropriate after technical assessment.
Do not choose the cheapest valve simply to reduce the immediate cost. The component must be suitable for domestic water use, line pressure, and connection type. Installing an incompatible valve can create another leak or lead to poor shutoff performance.
With Sehi Al Deira, you can request an assessment of the defective valve and clarification of the required replacement scope before agreeing to the cost. If the main valve is faulty, the supply isolation method should be established first so the work can be arranged safely.
-
When comparing the cost of replacing an under-sink valve with a main shutoff valve, do not focus only on component prices because isolation requirements and access difficulties may substantially change the work involved.
-
When receiving a quotation, ask whether it includes the replacement valve, installation materials, labor, and shutoff testing so you understand exactly what is covered.
-
If the pipe connection is damaged, request clarification of the repair cost before the new valve is installed rather than assuming that additional work requires no approval.
-
If replacement requires interrupting water to more than one residential unit, arrange the isolation time and necessary coordination beforehand to avoid unexpected disruption or additional costs.
-
If the old valve can be repaired, compare the practicality of repair and replacement based on its condition and shutoff reliability rather than choosing solely on the lowest immediate expense.
Conclusion
If your water shutoff valve won't close, do not attempt to dismantle it or force its handle to turn before identifying how the supply can be isolated. A valve that fails to stop water may have internal damage or a seized closing mechanism. An uncontrolled attempt to operate or remove it could cause breakage or a more serious leak.
The correct process begins by identifying the valve's function and location, followed by confirming that a suitable upstream isolation point can reliably stop the water. The connections should then be assessed, and a replacement valve selected according to the pipe type and operating pressure. After installation, its closing function and the surrounding connections must be tested for leakage.
With Sehi Al Deira, you can request an inspection of a defective water valve and determine the replacement requirements in Kuwait. It is better to address the problem before an emergency forces you to rely on a main or branch valve that no longer performs its intended function.
Frequently Asked Questions About Water Shutoff Valves That Won't Close
Why does my water shutoff valve turn but fail to stop the water?
The internal closing mechanism may be damaged, or the operating handle may no longer be properly connected to the component that stops water flow. The exact cause depends on the valve type and condition. The supply must be isolated before dismantling it.
Can I replace a shutoff valve while the water is running?
No. A valve should not be removed from a pressurized line. The supply must be isolated at a suitable point, water flow confirmed as stopped, and residual pressure handled before replacement.
What should I do if the main water shutoff valve does not close?
First, confirm that you are using the correct isolation point and that no other supply source remains connected. If the valve cannot isolate water, it needs inspection and appropriate upstream isolation arranged by a qualified technician or the responsible authority when necessary.
Does a stuck water valve always need complete replacement?
Not always. Some valves can be serviced depending on their design and component condition. However, a heavily corroded valve or one with a damaged internal mechanism may be better replaced. The decision should follow inspection.
Can I use pliers to turn a stuck shutoff valve?
Applying excessive force may break the handle, operating stem, or pipe connection. It is better not to force the valve and to arrange an appropriate inspection.
Why does water still come from the faucet after closing the valve?
The water may be draining from the pipe, or the valve may not be isolating the supply completely. If the faucet mixer has separate hot- and cold-water lines, water may also continue coming from the other line.
Does replacing a bathroom valve require shutting off water to the entire house?
It depends on the valve location and plumbing layout. If a reliable upstream valve isolates only the bathroom, it may be possible to use it. Otherwise, a larger section of the supply may need to be isolated.
Should I replace the flexible hose when replacing the valve?
Not necessarily. However, if the hose shows cracking, corrosion, or damage near its ends, it should be assessed for replacement rather than reinstalling a visibly deteriorated component.
How much does water shutoff valve replacement cost in Kuwait?
The cost depends on the valve type, location, connection condition, isolation requirements, and accessibility. Request an assessment that explains the component price, labor, and any additional repairs needed.
How can I confirm that the new shutoff valve works properly?
After installation and suitable restoration of the water supply, the valve should be tested in both its open and closed positions to confirm that it isolates the water as intended. The surrounding connections should also be checked to ensure there is no dripping or leakage.