Plumber for Leaks: Water Under the Sink Needs Joint Inspection

When you hear dripping or notice water inside the kitchen cabinet, do not immediately assume that the trap is the problem. There are several possible leak points beneath the sink, including drain connections, faucet hoses, shutoff valves, and seals between fittings. Water can also travel along a pipe and drip some distance away from the actual source of the leak. That is why proper diagnosis starts by drying the area and identifying exactly when the water appears. Does it happen when the faucet is opened, while the sink is draining, or even when the sink is not being used? These details help the plumber identify the source of the leak before dismantling anything and repair the component actually causing the problem instead of replacing good parts or randomly tightening connections.
Plumber to Repair a Leak Under the Sink

When you need a plumber to repair a leak under the sink, the most important first step is not replacing the trap or tightening every nut inside the cabinet. The priority is identifying exactly which component is allowing water to escape. Beneath a kitchen sink, there are usually two different systems that should not be confused with each other: the faucet water-supply connections, which may remain under water pressure even when the sink is not being used, and the drainage connections, which carry water when the sink is in use. This difference provides the first useful diagnostic clue. If dripping continues when the sink has not been used for some time, the supply hoses, shutoff valves, and their connections should be inspected first. If everything remains dry until water is drained from the sink, attention shifts toward the sink strainer, trap, and drain connections.
The difficulty is that the point where a drop falls is not always where the leak begins. Water can start leaking from a higher connection, travel along the outside of a hose or pipe, and finally drip from the lowest point. A quick visual inspection can therefore lead to replacing the wrong component. The area should first be dried completely, then any new moisture should be observed and traced from the top downward. If the problem is found to be a seal that is not seated correctly or a connection that is out of alignment, it can be addressed according to its condition. If a component is cracked or visibly damaged, excessive tightening is not a proper repair. After the work is completed, the same conditions that previously caused the leak should be recreated to confirm that the actual source has stopped leaking.
-
If water appears while the sink is not being used, the inspection should begin with the hoses, shutoff valves, and connections that remain under pressure instead of immediately assuming that the trap is responsible.
-
If dripping begins only when water drains from the basin, the sink strainer, trap, and drainage connections become some of the first points that require direct inspection.
-
If a drop appears beneath a particular pipe, the moisture should still be traced upward because water may have travelled along that pipe from another connection before dripping.
-
If a fitting is cracked or its seal is damaged, additional tightening can make the problem worse, so the actual cause should be repaired or the damaged component replaced when necessary.
-
After the repair, the faucet should be operated and an appropriate amount of water should be drained while the dry connections are observed to confirm that the original leak does not return.
Water Dripping Under the Kitchen Sink
Having water dripping under the kitchen sink does not automatically mean that a pipe is broken. Sometimes the problem is a slow drip from a faucet hose connection, while in other cases no water appears until the sink is filled and a larger volume drains through the system. In another situation, moisture may be coming from around the base of the faucet above the sink rather than from the drainage system at all. For this reason, the first useful step is to remove items stored inside the cabinet and dry the cabinet base, hoses, trap, and visible connections. Starting with dry surfaces makes the first sign of new moisture much easier to trace than trying to identify the source while old water is already spread throughout the cabinet.
After drying the area, the inspection should be performed in stages rather than operating everything at once. First, the area can be observed without using the sink to determine whether any part that remains under pressure is leaking continuously. The faucet can then be operated while the hoses and their connections are observed. After that, the sink can be drained while the trap and drainage fittings are monitored. Separating these tests helps eliminate groups of possible causes. For example, if the entire area remains dry while the faucet is running but a drop appears the moment the sink is drained, that information is much more useful than simply noticing water somewhere inside the cabinet.
In some cases, all the plumbing beneath the sink remains dry but moisture still returns. The area above the sink should then be inspected, including the faucet base and sink edges, because water may be entering from above and running down into the cabinet. If an electrical outlet or appliance is close to the wet area, normal testing should not continue and wet electrical components should not be touched. The area should be made safe and the appropriate qualified professional should handle the electrical issue.
-
Removing stored items and completely drying the cabinet makes the first sign of a new leak easier to identify instead of confusing current dripping with water that accumulated hours or days earlier.
-
Observing the area before operating the faucet helps determine whether there is a continuous leak from water-supply components that remain pressurized even when the sink is not being used.
-
Testing faucet operation separately from sink drainage makes diagnosis more precise because each test activates a different group of connections beneath the sink.
-
If all hoses and the trap beneath the sink remain dry, the faucet base and sink edge should be inspected because water may be entering the cabinet from above.
-
If leaking water reaches an electrical outlet or appliance inside the cabinet, normal testing should stop and wet electrical components should not be touched until the area has been made safe.
Leaking Kitchen Sink Connection in Kuwait
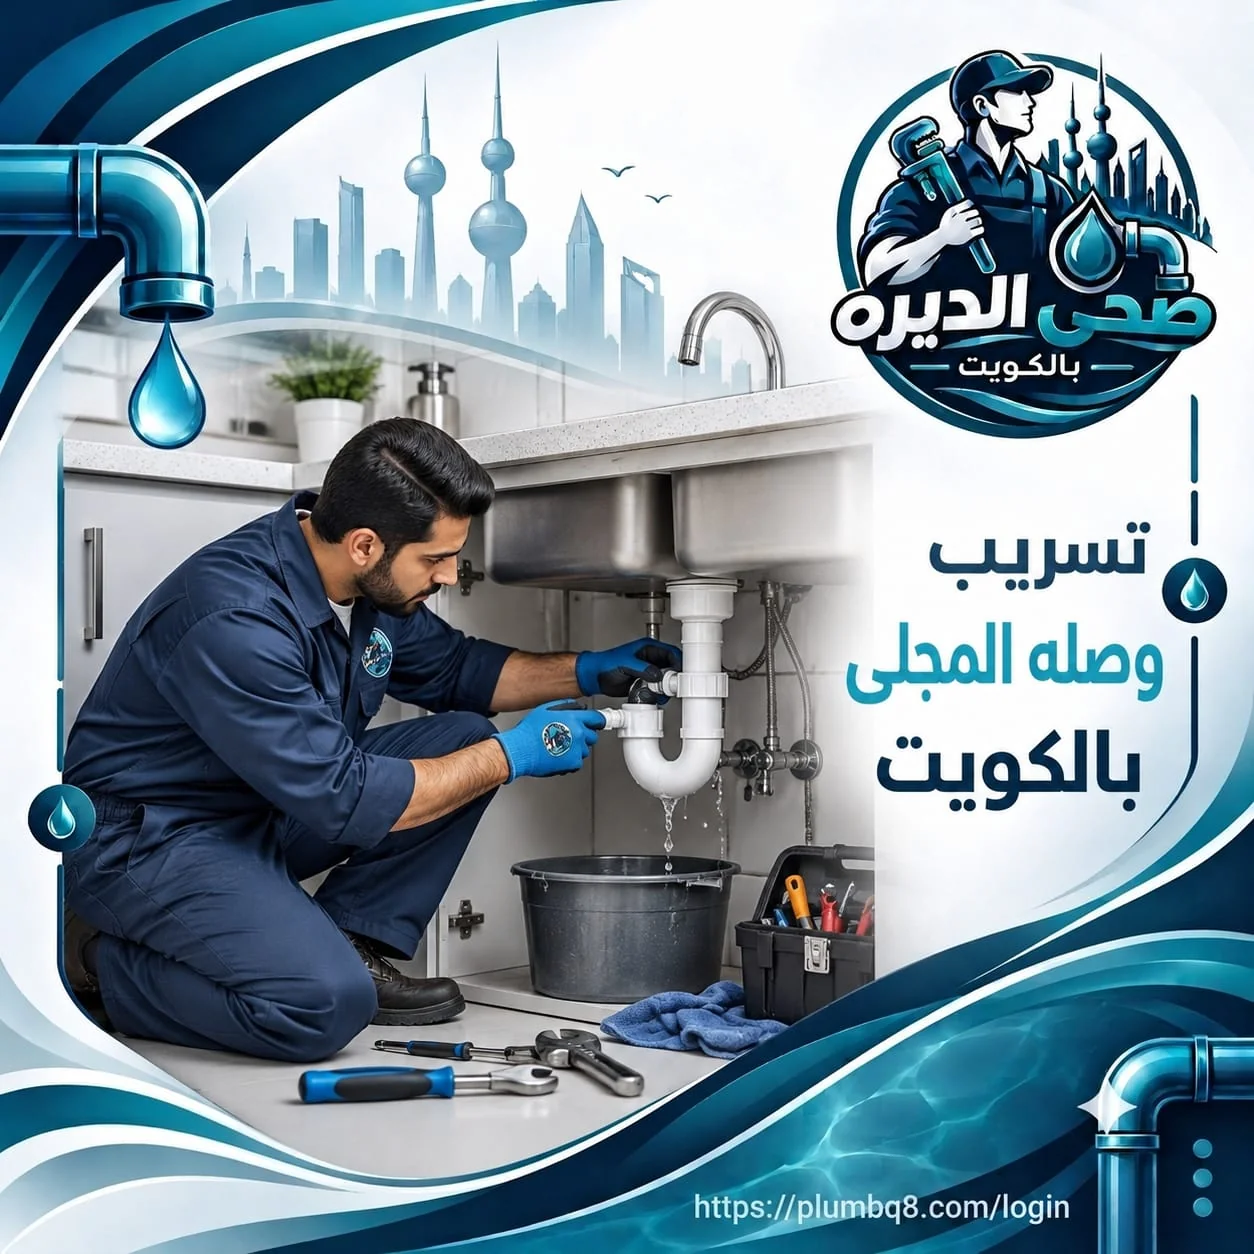
A leaking kitchen sink connection in Kuwait often appears as a small drop around a nut or where two drainage components meet, but the appearance of the drop alone does not explain why the connection is leaking. In one fitting, a seal may have shifted after the trap was previously removed for cleaning. In another, a pipe may enter the connection at an angle and continuously place sideways pressure on the joint. In a different case, the nut or fitting itself may be cracked. This is why the idea that every leaking connection simply needs to be tightened more is inaccurate. Excessive tightening of a plastic fitting can sometimes turn a minor drip into more serious damage.
A proper inspection starts with the connection completely dry. Water is then passed through the system while the first point of new moisture is observed instead of waiting until it reaches the bottom of the cabinet. If the connection needs to be dismantled, the seal should be checked for condition and correct seating, while the contact surfaces should be inspected for deposits that may prevent proper sealing. Pipe alignment should also be reviewed because components should meet naturally without forcing one section toward another. If a crack is clearly visible, replacing the damaged component should be considered instead of coating the outside with material that hides the leak without addressing its cause.
After reassembly, testing should be gradual. A limited amount of water can be passed through first while the entire connection is inspected. If it remains dry, a larger amount can then be drained to represent normal sink use more realistically. This step matters because some leaks do not appear under light flow but begin when the drainage rate increases. A successful result is not simply water disappearing from the basin. The connection itself should remain dry after testing, with no new dripping inside the cabinet.
-
A connection that began leaking after previous dismantling should have the seal position and component arrangement checked before additional tightening because the problem may be caused by incorrect reassembly.
-
If a pipe enters the fitting at an angle, correcting the alignment is important because continuous sideways pressure can cause the leak to return even when a sound seal has been installed.
-
A crack in the fitting body or nut changes the repair decision because a damaged component may require replacement rather than an attempt to stop the leak through additional tightening.
-
Testing with a small amount of water first helps reveal the initial drop at its actual source before moisture spreads and makes the starting point more difficult to identify.
-
After the initial test succeeds, an amount of water representing normal sink use should be drained because some connections remain dry under light flow but leak when drainage increases.
Plumbing Technician to Repair a Leak Under the Sink
The need for a plumbing technician to repair a leak under the sink becomes clear when the source of the dripping cannot be identified or when moisture returns after a previous repair attempt. Proper work does not mean replacing the trap or all the hoses as a precaution because every component beneath the sink serves a different function and leaks differently. The technician should first consider the way the problem behaves. Does the drop continue all the time? Does it appear after the faucet is opened? Does it begin only when water drains from the sink? Was any component removed or replaced before the problem started? The answers help narrow down the possibilities before connections are dismantled.
If water appears without the sink being used, the supply side that remains under pressure should be inspected, including the hoses, shutoff valves, and their connections. If the leak begins when the basin is emptied, attention turns toward the strainer, trap, and drainage fittings. This is where a technician's ability to trace the route of the water matters because moisture can travel along the surface of a pipe and fall some distance away from its source. The installation should also be checked for sideways pressure on the trap or excessive tension on a faucet hose because the position of the components itself can cause the problem to return even after a seal or fitting has been changed.
Once the source has been identified, the repair is selected according to the condition of that component instead of applying one solution to every leak. A displaced seal requires correct installation, a cracked fitting may require replacement, and a misaligned connection needs its position corrected. After the work, the area should be dried and the same operating conditions that originally caused the leak should be recreated to confirm that the actual source has been addressed.
-
A plumbing technician should begin by determining when the leak appears because continuous leaking without sink use requires a different diagnostic direction from a drop that appears only during drainage.
-
Inspecting how the trap and hoses are positioned is important because continuous tension or pressure on a fitting can cause the leak to return even after a component has been replaced.
-
Tracing the first new moisture after drying the area gives a more reliable result than relying on where water has pooled at the bottom of the cabinet after spreading.
-
The correct repair depends on the condition of the component because a displaced seal, cracked fitting, and damaged hose cannot all be properly repaired using the same method.
-
Repeating the operating conditions that originally caused the leak after the repair provides clearer confirmation that the work has addressed the actual source.
Kitchen Faucet Hose Leak
A kitchen faucet hose leak can be deceptive because a drop seen at the bottom of the hose does not necessarily originate there. Water may begin at the connection to the shutoff valve or at the end connected to the faucet, travel down the outer surface of the hose, and then fall from its lowest point. The hose therefore needs to be dry before inspection so the first appearance of moisture can be identified. If the leak continues while the faucet is closed, it deserves prompt attention because parts of the water-supply line remain under pressure even when the sink is not being used.
Not every hose problem can be corrected by tightening a nut. If the leak is coming from a connection, the fitting, installation, and condition of the connected components should be checked. If the hose body itself is cracked, swollen, or otherwise damaged, tightening its ends will not repair the damaged section. The position of the hose also matters. A hose that is sharply twisted or stretched tightly between two points can place continuous stress on its connections and allow the problem to return even after the fitting has been adjusted.
When replacement is necessary, the hose should be compatible with the faucet, shutoff valve, and installation rather than being selected only because it looks similar. Once installed, its route should be checked to make sure it is not sharply twisted, stretched, or pressed against an edge that could rub against it. The water can then be turned on and the connection at the valve, the connection at the faucet, and the full hose body should all be inspected because one dry connection does not confirm that the entire supply route is leak-free.
-
A drop found at the bottom of the hose does not identify the damaged point because water may have started at a higher fitting and travelled along the hose before falling.
-
A leak that continues while the faucet is closed requires inspection of the supply side because some of these connections remain under water pressure even when the sink is not being used.
-
A hose with cracking or swelling should be evaluated for replacement because tightening the nuts cannot repair physical damage to the hose body.
-
Installing the hose without severe twisting or tension between its two connection points reduces unnecessary mechanical stress on the fittings and maintains proper installation.
-
After the repair, both hose connections and the entire hose body should be inspected while the supply is pressurized rather than treating one dry fitting as proof that the whole route is sound.
Locating the Source of Water Under the Sink
Locating the source of water under the sink depends on identifying where the moisture begins rather than where it eventually collects. Inside a kitchen cabinet, a drop can travel to the lowest point even when its source is much higher. Water may run behind a pipe or along the body of a hose before appearing on the cabinet base. The first practical step is therefore to remove stored items and completely dry the trap, hoses, shutoff valves, and cabinet floor before inspection begins. Old standing water makes diagnosis more difficult because it does not show whether the leak is still active or stopped earlier.
Once everything is dry, the tests should be separated. The first stage is observing the area without using the sink to see whether water appears from components that remain under pressure. The faucet can then be operated while the hoses and their connections are watched, without immediately combining that test with draining a large amount of water. The drainage system can then be tested while the strainer, trap, and fittings are observed. This approach allows each part of the plumbing to be inspected while performing its actual function and reduces the risk of blaming a sound component simply because water travelled onto it from somewhere else.
If all visible connections beneath the sink remain dry but moisture returns, the inspection should extend upward and around the basin. Water may be entering near the faucet base or sink edge and running into the cabinet. If the source appears to be behind the cabinet or within a concealed area, the suspected location should be narrowed down as much as reasonably possible before any cabinet section or finish is opened.
-
Beginning the inspection with completely dry surfaces makes the first sign of new moisture stronger evidence than attempting to identify a source while old water is spread across several surfaces.
-
Observing the hoses and shutoff valves before using the sink helps identify leaks from supply components that remain pressurized even without faucet operation.
-
Testing drainage separately shows whether the leak is associated with water passing through the trap and drain fittings rather than being confused with a faucet-supply problem.
-
If all plumbing beneath the sink remains dry, the faucet base and sink edge should also be inspected because water can enter from above and run into the cabinet.
-
If the source is concealed, the suspected area should be narrowed down first instead of randomly dismantling the cabinet or finishes without evidence of the leak location.
Repairing Leaking Kitchen Sink Connections

Repairing leaking kitchen sink connections requires distinguishing between drainage fittings and water-supply fittings because they operate differently. A drainage fitting carries water when the sink is being used and, in many installations, depends on seals and proper alignment between components. A supply fitting, on the other hand, is connected to the water line and may remain under pressure for long periods. For this reason, every leaking fitting should not be treated using the same repair method or the same materials simply because all the components are located inside one cabinet.
With drainage connections, important points to inspect include the condition and position of the seal and whether the pipes enter the fittings in proper alignment without continuously loading the joint sideways. If a seal is twisted, tightening the nut further may not stop the leak. If a pipe is being forced into an unnatural angle, the problem can return later even if the water initially stops. On the supply side, the hose, connection point, and condition of the components should be inspected rather than adding materials that are not intended for that specific fitting.
A proper repair does not rely on covering the outside of the connection simply to hide the visible drop. The objective is to determine why the joint lost its seal and correct the cause. If the component itself is damaged, replacement with an appropriate part should be considered. Each system is then tested according to the way it normally operates, and the dry area is observed carefully so any slow leak can be identified before items are returned to the cabinet.
-
Determining whether the leaking fitting belongs to the supply or drainage system establishes the correct inspection approach because water pressure, timing, and connection design differ between the two.
-
A seal installed at an incorrect angle or position can continue leaking despite a tight nut, so correct seating is more important than applying excessive tightening force.
-
Proper drain-pipe alignment prevents continuous sideways pressure on the fitting and reduces the possibility of the leak returning after reassembly.
-
Covering a leaking connection from the outside without identifying the cause may temporarily hide the drop while making continued leakage behind the applied material more difficult to inspect.
-
Testing each connection under its normal operating conditions while the area is dry helps reveal slow dripping before the cabinet is closed and its contents are returned.
Water Collecting Inside the Kitchen Cabinet
When you notice water collecting inside the kitchen cabinet, the problem is not limited to the puddle you can see. The important question is how that amount of water reached the cabinet. The area beneath the sink can collect water from several possible sources, so a small puddle beneath the trap does not automatically prove that the trap is responsible. The leak may come from a faucet hose or shutoff valve, begin at a higher drainage fitting, or in some cases enter around the faucet base or sink edge and run down behind the basin into the cabinet. The source should therefore be identified before buying replacement parts or dismantling connections.
The first practical step is to remove cleaning products and stored items and dry the cabinet base as much as possible. If the wood or board has absorbed water, it may remain damp even after the source has stopped leaking. It is therefore important to distinguish old moisture from new water. If a fresh drop appears on a surface that was dried, its route becomes easier to trace. If there is an obvious continuous leak from a water-supply line and its dedicated shutoff valve can be safely closed, stopping the water supply can reduce continued wetting until the repair is completed.
Once the leak has been repaired, attention should not end at the fitting. The cabinet needs to be dried and its condition inspected because prolonged moisture can affect cabinet panels or stored items. If water has reached an electrical outlet, wiring, or appliance, safety becomes the priority. Wet electrical components should not be touched, and the appropriate qualified professional should deal with that part of the problem instead of continuing ordinary plumbing tests.
-
Removing everything from the cabinet before inspection exposes more of the base and sides and makes it easier to see how water is spreading instead of allowing stored items to hide the leak route.
-
Wood remaining damp after a repair is not definite evidence that the leak continues because some cabinet materials retain moisture and need adequate drying time before they can be assessed.
-
If fresh water appears again after a particular area has been dried, that observation is more useful than the location of an old puddle because the new moisture can be traced toward the actual source.
-
If a supply-line leak is continuous and its shutoff valve operates normally and can be closed safely, stopping the water can help limit further damage until the damaged hose or connection is repaired.
-
Water reaching an electrical component or appliance inside the cabinet changes the priority completely because the area should be made safe and wet components should not be touched before the appropriate professional handles them.
Repairing a Leaking Kitchen Sink Trap
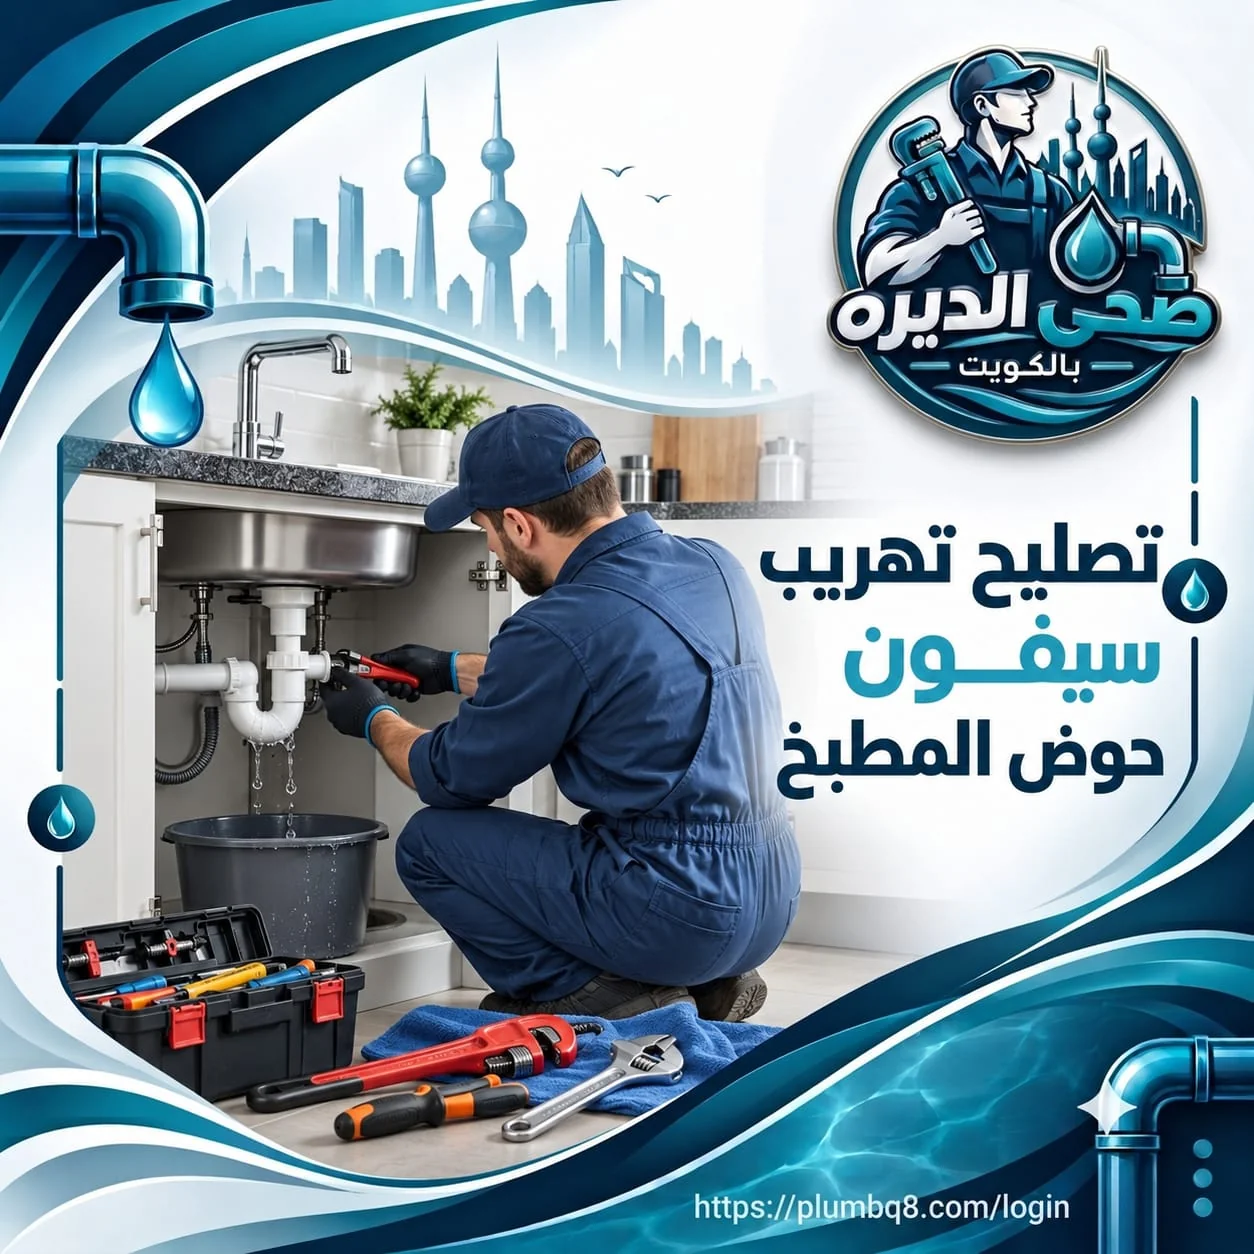
Repairing a leaking kitchen sink trap begins by identifying exactly where water is escaping from the trap assembly. The leak may appear at the upper nut beneath the sink opening, at one of the side connections, or where the trap connects to the drain pipe. In less obvious situations, the body of the component itself may be cracked. For this reason, seeing water beneath the trap is not enough to conclude that the entire trap needs replacement. The actual problem may involve a seal, installation, or alignment issue that requires a different repair.
Before dismantling the trap, remember that it naturally holds a quantity of water as part of its design. Water coming out when the trap is removed should therefore not be confused with a new leak. Once the required section has been removed, the seals, fitting edges, visible cracks, and threads on threaded components can be inspected. Reusing a damaged seal or reinstalling it incorrectly may cause the same leak to return immediately. The pipes should also not be forced together if their positions do not align because the resulting stress remains on the joint after the work is finished.
After reassembly, water should be passed through in stages while every point around the trap is observed on dry surfaces. A small amount can reveal an obvious leak, after which a larger volume can be drained to test the connections under conditions closer to normal sink use. If the trap remains completely dry but water still appears underneath it, the source should be traced from above rather than dismantling the trap again without evidence.
-
Water being present inside the trap is normal because of its design, so water released during dismantling should not automatically be treated as new evidence of the leak location.
-
Inspecting seals after dismantling is important because a cracked or deformed seal cannot be restored to proper performance simply by tightening the nut harder.
-
Aligning the trap components correctly with the drain line prevents sideways stress on the fittings that could cause leaking to return even after a new seal has been installed.
-
Gradual testing after reassembly helps reveal the first drop early and allows the connection to be reviewed before a larger amount of water is passed through the system.
-
If the trap body and all of its connections remain dry during testing, it should no longer automatically be blamed and a higher connection or different source should be investigated before replacing anything.
Inspecting Kitchen Sink Plumbing for Leaks
Inspecting kitchen sink plumbing for leaks is broader than checking one fitting because the area around the kitchen basin contains two main water routes: the supply route that brings water to the faucet and the drainage route that carries it away from the sink. Each route operates differently, and that difference is extremely useful during diagnosis. The supply line may remain pressurized even when the faucet is not open, while the trap and drainage connections carry sink flow primarily during use. A simple question such as "When does the dripping appear?" can therefore provide important information before anything is dismantled.
The inspection usually starts with visible components, including the shutoff valves, supply hoses, and their connection points, then moves to the area beneath the faucet, the sink strainer, trap, and drainage fittings. Signs such as deposits, discoloration, or swelling of the cabinet base should also be noted, but those signs alone do not prove that the same location is currently leaking. They may be evidence of an older problem that was repaired previously. The objective is to dry the area and observe new moisture during testing so the diagnosis is connected to an active leak.
If the leak is intermittent, the conditions that produce it should be recreated safely. Some drainage fittings remain dry while a cup or two is washed but begin dripping when a full sink is emptied and a greater volume of water passes through them. In contrast, some supply problems appear simply because the line remains pressurized or when the faucet is moved, depending on its design. Once the responsible component has been identified, the appropriate cause is repaired and the same test is repeated. This approach reduces unnecessary replacement of components and bases the repair decision on an identified source instead of guesswork.
-
Separating the inspection into water-supply and drainage systems makes the timing of the leak a practical diagnostic clue that helps determine which group of connections should receive priority.
-
Old deposits or moisture marks can help explain the history of the problem, but they are not enough to prove that an active leak remains unless new water is observed during testing.
-
If dripping appears only when a larger amount of water is drained, the system should be tested under conditions that represent that situation because light use may not expose the affected connection.
-
Noticing a change in leaking when the faucet is moved can be useful in some installations because it directs attention toward components that move or are affected during faucet operation.
-
A proper inspection ends by recreating the conditions that originally caused the leak and confirming that the connections remain dry rather than treating the disappearance of a wiped-away drop as sufficient proof.
Conclusion
Water dripping beneath the sink requires organized diagnosis rather than random repair attempts. The place where water collects inside the cabinet is not necessarily where the leak begins because a drop can travel along a hose or pipe or enter from a higher point around the faucet or sink. The best starting point is therefore to dry the area, determine when the water appears, and separate inspection of the supply system from inspection of the drainage system. This makes it easier to determine whether the problem involves a hose, fitting, trap, or another point around the sink.
With Sehi Al Deira, the focus is on locating the source of the dripping before deciding what repair is required because replacing good components or excessively tightening fittings is not a substitute for diagnosis. Once the component causing the leak has been repaired, the area is tested under the same operating conditions that previously produced the problem, while checking that the connections remain dry and water does not return inside the cabinet. If the leak is continuous or keeps returning after previous attempts, a systematic inspection helps identify the cause instead of repeating the same repair.
Frequently Asked Questions About Water Leaking Under the Sink
Why is there water under the sink when the trap is dry?
If the trap is dry, the source may be somewhere else, such as a faucet supply hose, shutoff valve, or higher connection. Water can also enter around the faucet base or sink edge and run into the cabinet. The trap should not be dismantled simply because water is found beneath it. The area should first be dried and the first new moisture traced to determine where it actually begins.
How can I tell if the leak is from the faucet hose or drain?
Observe when the water appears. If moisture is present even when the sink is not being used, the supply side needs inspection because it remains under pressure. If dripping appears only when water drains from the basin, the trap and drainage connections become more likely areas to inspect. The final diagnosis should still be based on tracing the actual drop rather than timing alone.
Does every leaking kitchen sink connection need replacement?
No. Some leaks are caused by a seal that is not seated correctly or by poor alignment between drainage components, while other cases involve an actual crack or damaged fitting. The cause of the leak should therefore be inspected first. The result determines whether the fitting needs to be reassembled, a seal needs attention, or a damaged component should be replaced.
Should I tighten the trap connection if I see a drop?
Random tightening is not the best solution. If the seal is twisted or the fitting is cracked, applying additional force does not address the cause and may damage some plastic components. It is better to determine why the fitting is leaking, inspect the seal, alignment, and component condition, and then reassemble or repair it appropriately.
Why does the leak appear only when the sink is full?
Some drainage problems do not appear with a small amount of water. When a full sink is emptied, a greater volume passes through the trap and fittings in a shorter period, which can expose a leak that was not visible during light use. Repair testing should therefore reproduce the conditions under which the problem originally appeared.
Can a faucet hose leak even when the faucet is closed?
Yes. Part of the faucet supply system remains under water pressure even when the faucet itself is closed. If there is a defect in the hose or one of its connections, water can continue leaking without the sink being used. This situation requires inspection of the supply source rather than relying on the closed faucet as proof that water is no longer reaching the hose.
What should I do if water is collecting inside the kitchen cabinet?
Remove items that could be damaged and dry the area so any new water can be identified. If there is a continuous supply-line leak and its dedicated shutoff valve can be closed safely, stopping the supply can help reduce further wetting until repairs are completed. If water has reached an electrical component or appliance, do not touch wet equipment and make safety the priority.
Why does the leak return after replacing the trap seal?
The problem may involve pipe alignment, incorrect positioning of the new seal, or an entirely different component. If the drain pipe places sideways pressure on the trap, the leak can return even with a sound seal. A recurring problem should therefore be diagnosed again instead of automatically replacing the same seal another time.
Does a small leak under the sink need prompt repair?
It is better not to ignore it because a small repeated drip can spread moisture through the cabinet base and affect items stored inside. The leak may also come from a component that remains under water pressure. Identifying the source early is preferable to waiting until more water accumulates and the starting point becomes harder to determine.
How do I know whether the sink leak repair was successful?
After the repair, the area should be dried completely and tested under the same conditions that previously caused the leak. If the problem appeared while the sink was draining, the drainage system should be tested. If it came from the supply side, those connections should be observed under their normal operating conditions. Keeping the area dry after the relevant test provides practical confirmation that the source has been addressed.